My sister Susie and I went on another shopping excursion looking for flooring that met all her requirements…
1. Had to be flexible to accomodate the uneven subfloor
2. Had to be a light color
3. Had to be fairly easy to install
We found some great vinyl, groutable, stick-on tiles at Lowes that fit the bill.

12″ x 24″ Oyster Travertine Travertine Finish Luxury Vinyl Tile
12″ x 24″ Oyster Travertine Travertine Finish Luxury Vinyl Tile
First we rolled on some Kilz primer and then let that dry a couple of hours.
Then I began laying the tiles starting on the wall that will be most visible so that it would be straight in case the walls were not plumb, which since it is an old house they are definitely not plumb!
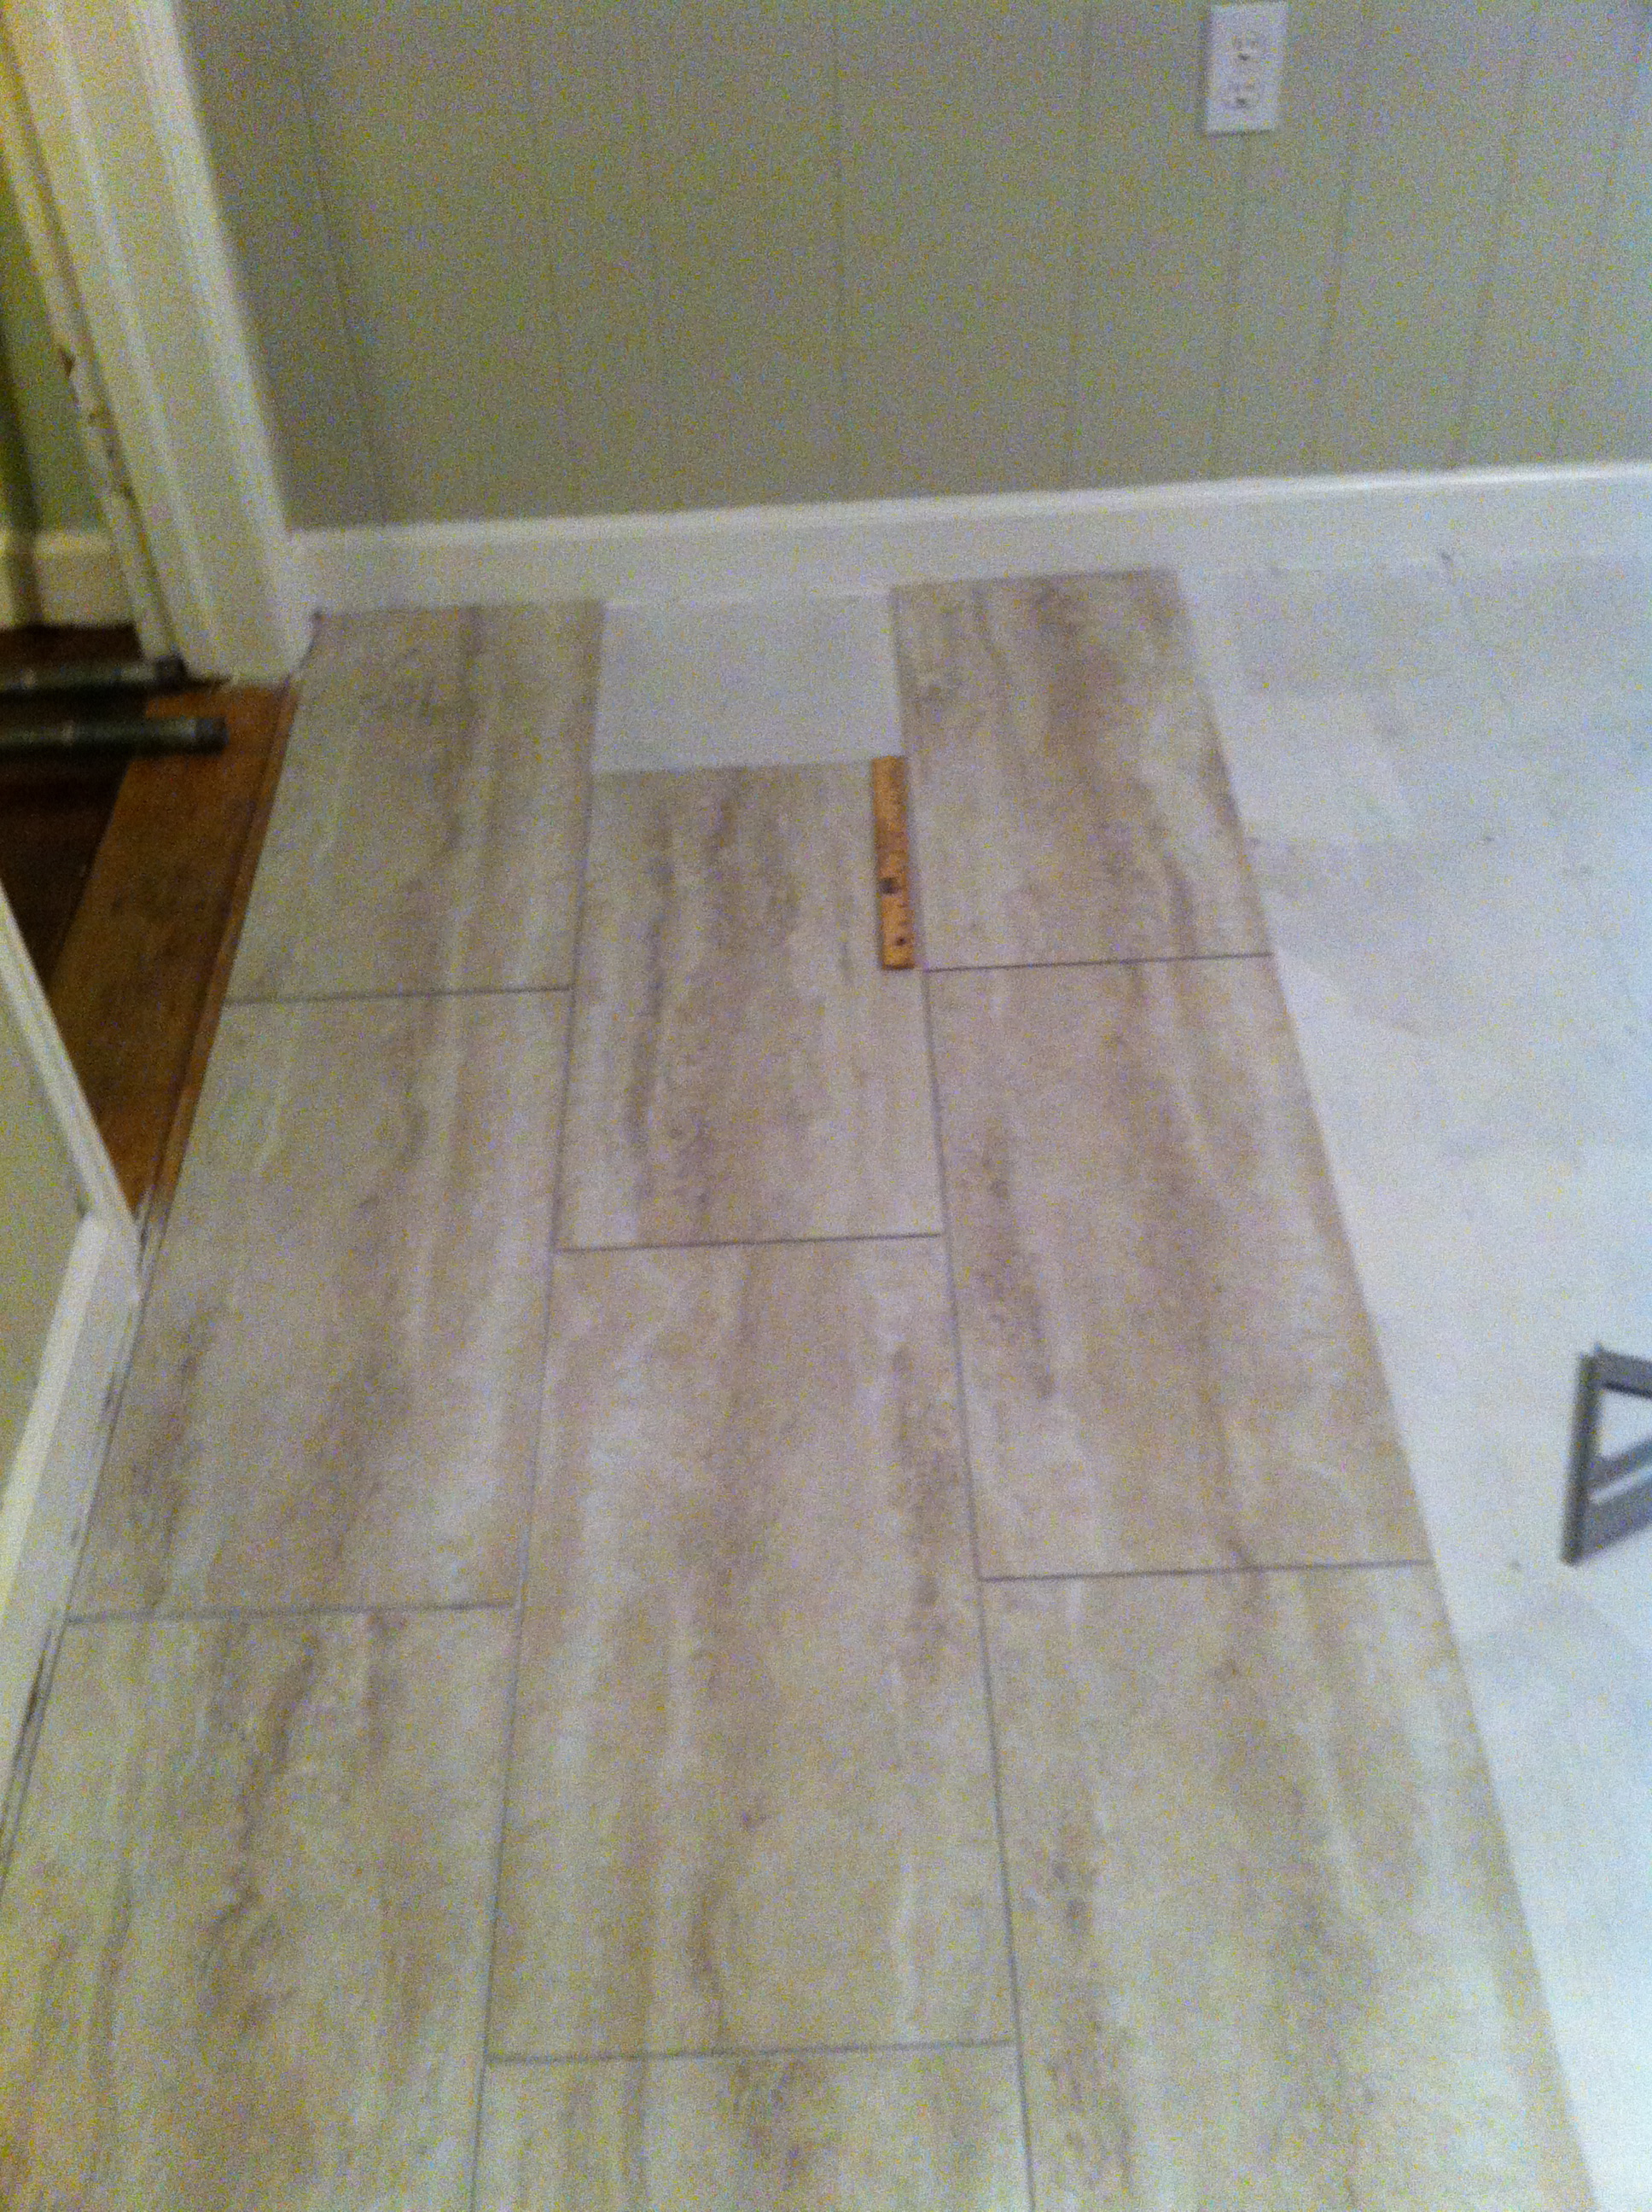
I was able to lay the tiles out without using spacers because I have a pretty good eye but they would help if you don’t feel comfortable not using them. The process went smoothly and I didn’t have to do too much cutting because its a square room. A utility knife cuts it very well.
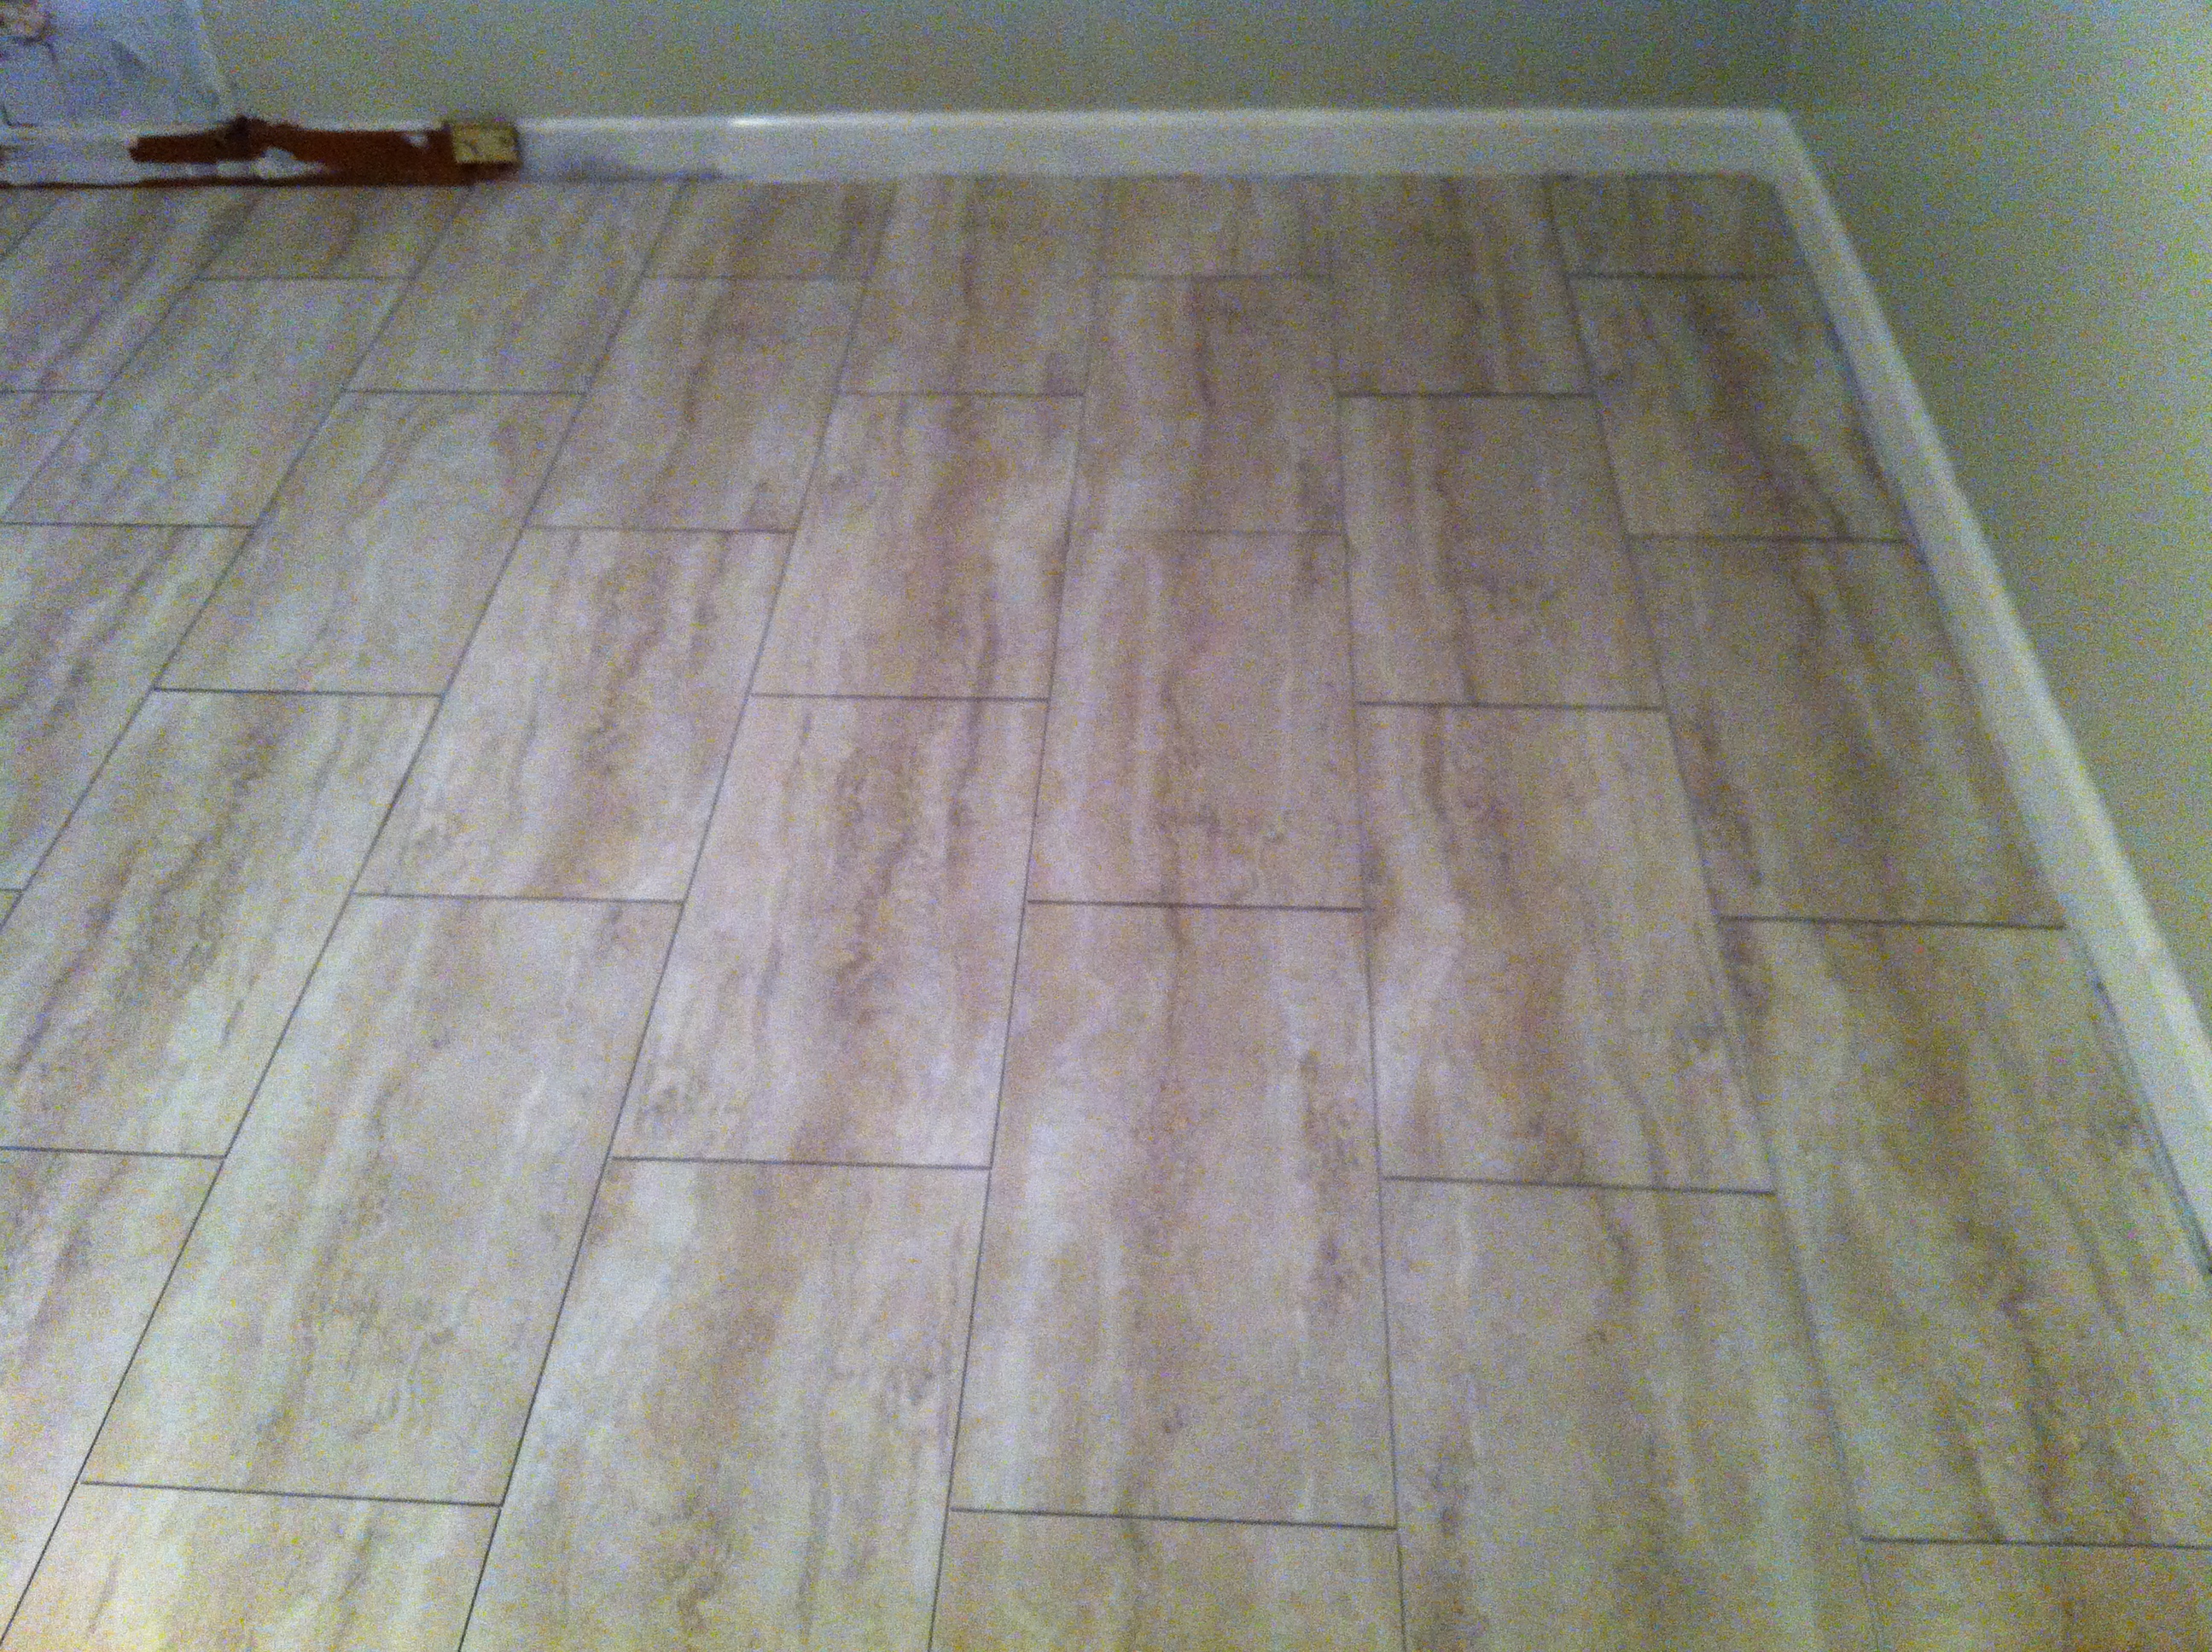
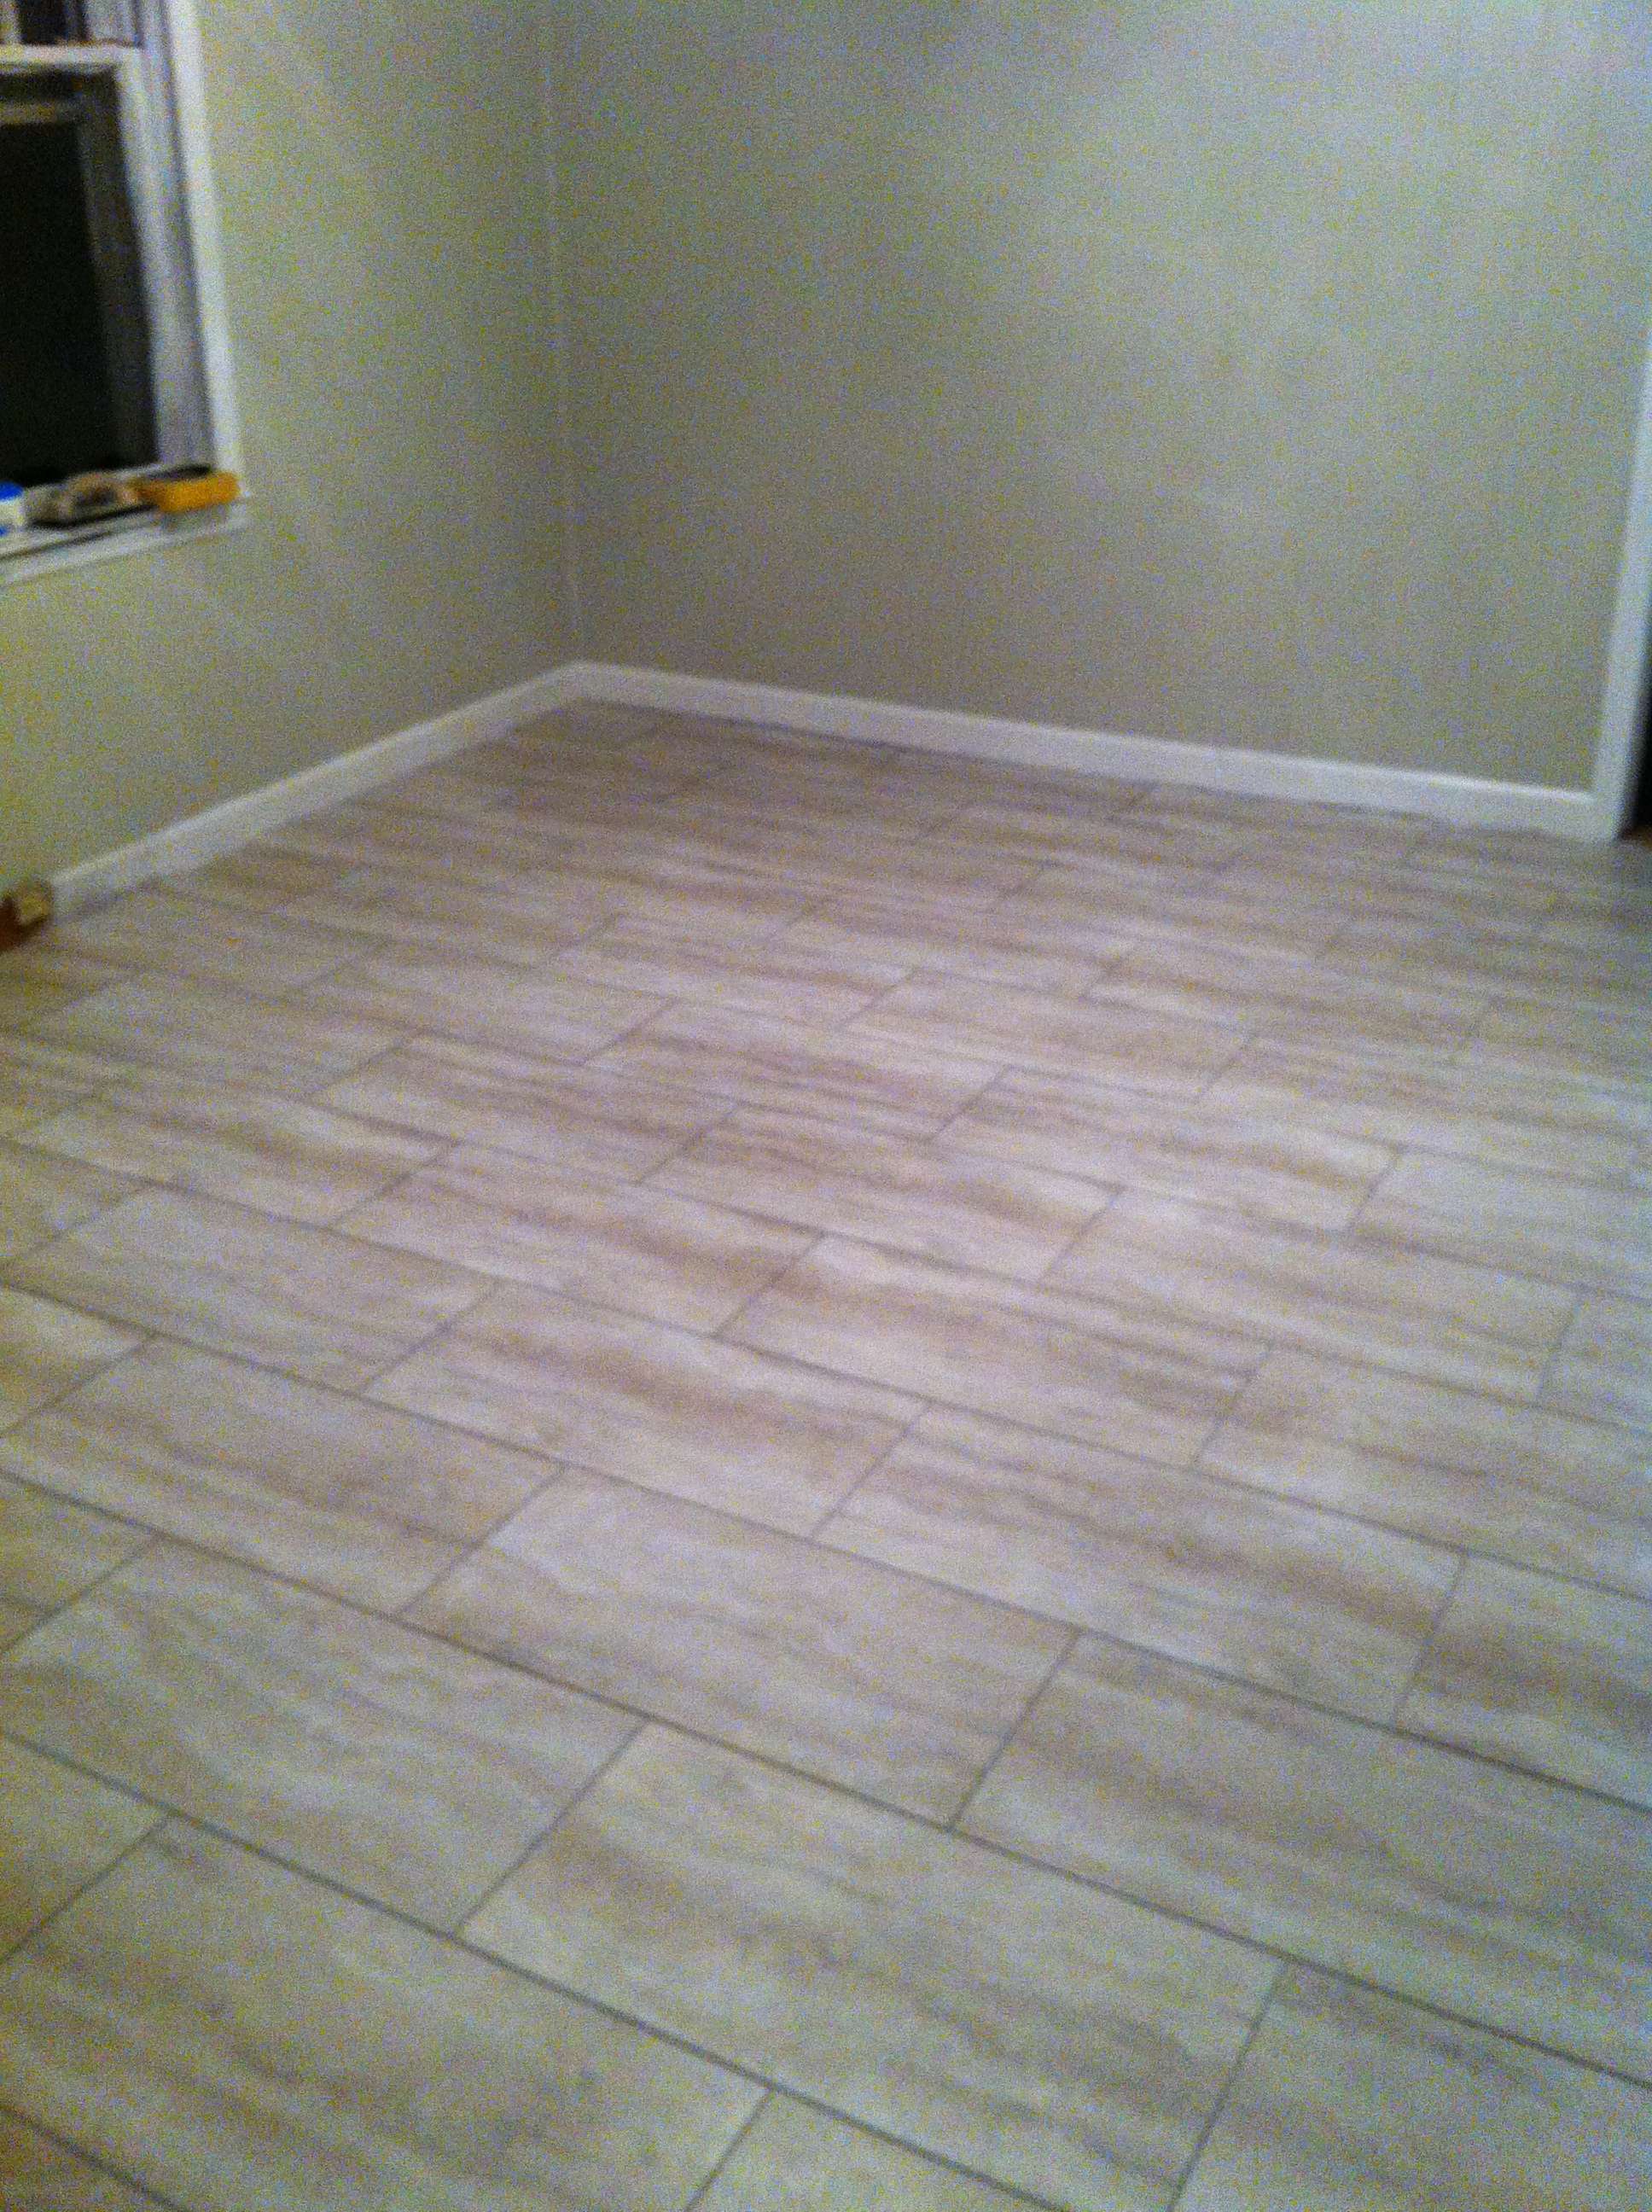 After all the tiles were laid I came back the next morning and started grouting with a special vinyl grout that is more flexible than regular grout. The tiles look and feel like travertine marble, especially since it is grouted which makes it very hard to tell the difference! This project was a huge success and I would recommend this product to anyone because of the ease of installation and at about $1.00 per square foot, you cannot beat the cost!

My sister is renovating her house and I have been traveling up to NC to help out when I can. This weekend I decided I wanted to do something big to help her see her hard work is worth the sore back and headaches so we went to Lowes and found this great product…. Cherry Vinyl Plank Flooring – it is a stick-on vinyl tile that looks and feels like real wood at $1.18/sq ft. and it super simple to install. I convinced her it would look great with the real wood floors that she restained in the rest of the house that are similar in color to the planks. The kitchen is separated from the real wood floors by a dining room so the new planks will not be directly beside the old floors. We make the purchase along with some glass tiles and grout to do the backsplash (another post is imminent). Time to get to work!!
Shop Style Selections 6″W x 48″L Cherry Luxury Vinyl Plank at Lowes.com.


I measured the room and drew a line to indicate the middle from the center of the sink. This was the logical place to start since the doorway was directly across from the sink. I began laying the planks at an angle with the short end placed on the marked line with the ends at a 90 degree angle to each other…

It already is beginning to look great. Each piece is placed tightly against each other and with my sister’s help we started making a chevron pattern with the planks. This stuff was really sticky which is great because it should stay put but it got all over our hands, I just used the stuff that takes stickers off of surfaces to wash my hands every 5 planks or so.

About 3/4 of the way through the project. Time to start measuring the planks that need to be cut to fit against the wall, this part was time consuming but fairly easy after making a template to help cut the angle. After a few mistakes I figured out that going ahead and placing a plank first then cutting against the wall worked better than cutting first because I usually had it too long and had to cut again anyway. After that it went down much quicker.

The zig zag pattern looks great, cannot wait to see the finished kitchen!
- This looks even better in person, the tiles fit together perfectly, such a quality product. I want to try this in my own basement, it looks like real wood at a fraction of the cost and labor!
