This is a dresser I painted for a friend’s daughter who is getting a room makeover!

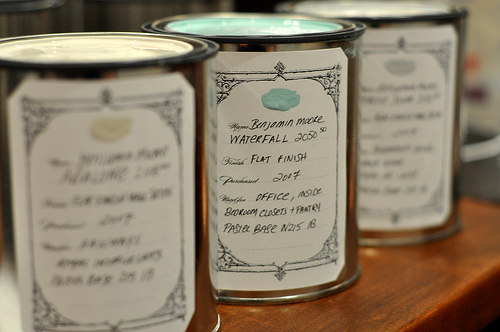

Found this on Pinterest! Love her blog too, she has provided a free printable label to make organizing your leftover paint easier.
Brooklyn Limestone: Simplifying our stash (and a freebie!).
Just discovered Home Depot has these incredible latticework panels that are 32″ X 4′ … The possibilities are endless!

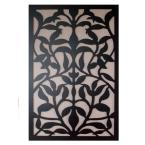

Lattice – Lumber & Composites at The Home Depot.
My sister Susie’s enclosed porch used to be the outside of the house before an addition was done in the 80’s. She decided to spruce it up a bit (a lot) and pulled the awful industrial carpet up and there were beautiful hardwoods underneath! There is a patch in front of the door because they had to fill in where the old steps were but I think it just adds to the charm of the history of the house. The yellow siding was painted a beautiful blue/green and she painted the trim white and refinished the floors. When I say “she” I mean Susie and her significant other Travis, they are the do-over duo!

We recently had our windows replaced and now I have a stack of old windows cluttering up the side of my yard. My Dad said he wants them to make a greenhouse and I started researching that grand idea. I think these photos of old window greenhouses gives me motivation to make one myself, maybe using my new nail gun, eh?


I recently saw this beautiful chandelier on a website and began to think about making a similar one myself, it was approximately $3,500 and that is way over my budget!

So I began looking online for a lighting that would be appropriate for me to bead but I was looking for something that had the lights on the outside of the frame so the beads wouldn’t cover the lightbulbs.
I found this one at Lowes.com and one of the local stores had it in stock so I purchased it so I could measure it to decide the number of beads I needed. That took a lot of measuring because I wanted to make the strands graduated (smaller to larger) and after calculating numerous times I bought the beads from FireMountainGems.com.


Then I waited impatiently for my 27 lb. box of beads to arrive in the mail, they could have arrived the next day and that would have been excruciating because I was so anxious to get started! But of course it took about a week for the beads to arrive and I was so happy to see that box arrive on my doorstep…
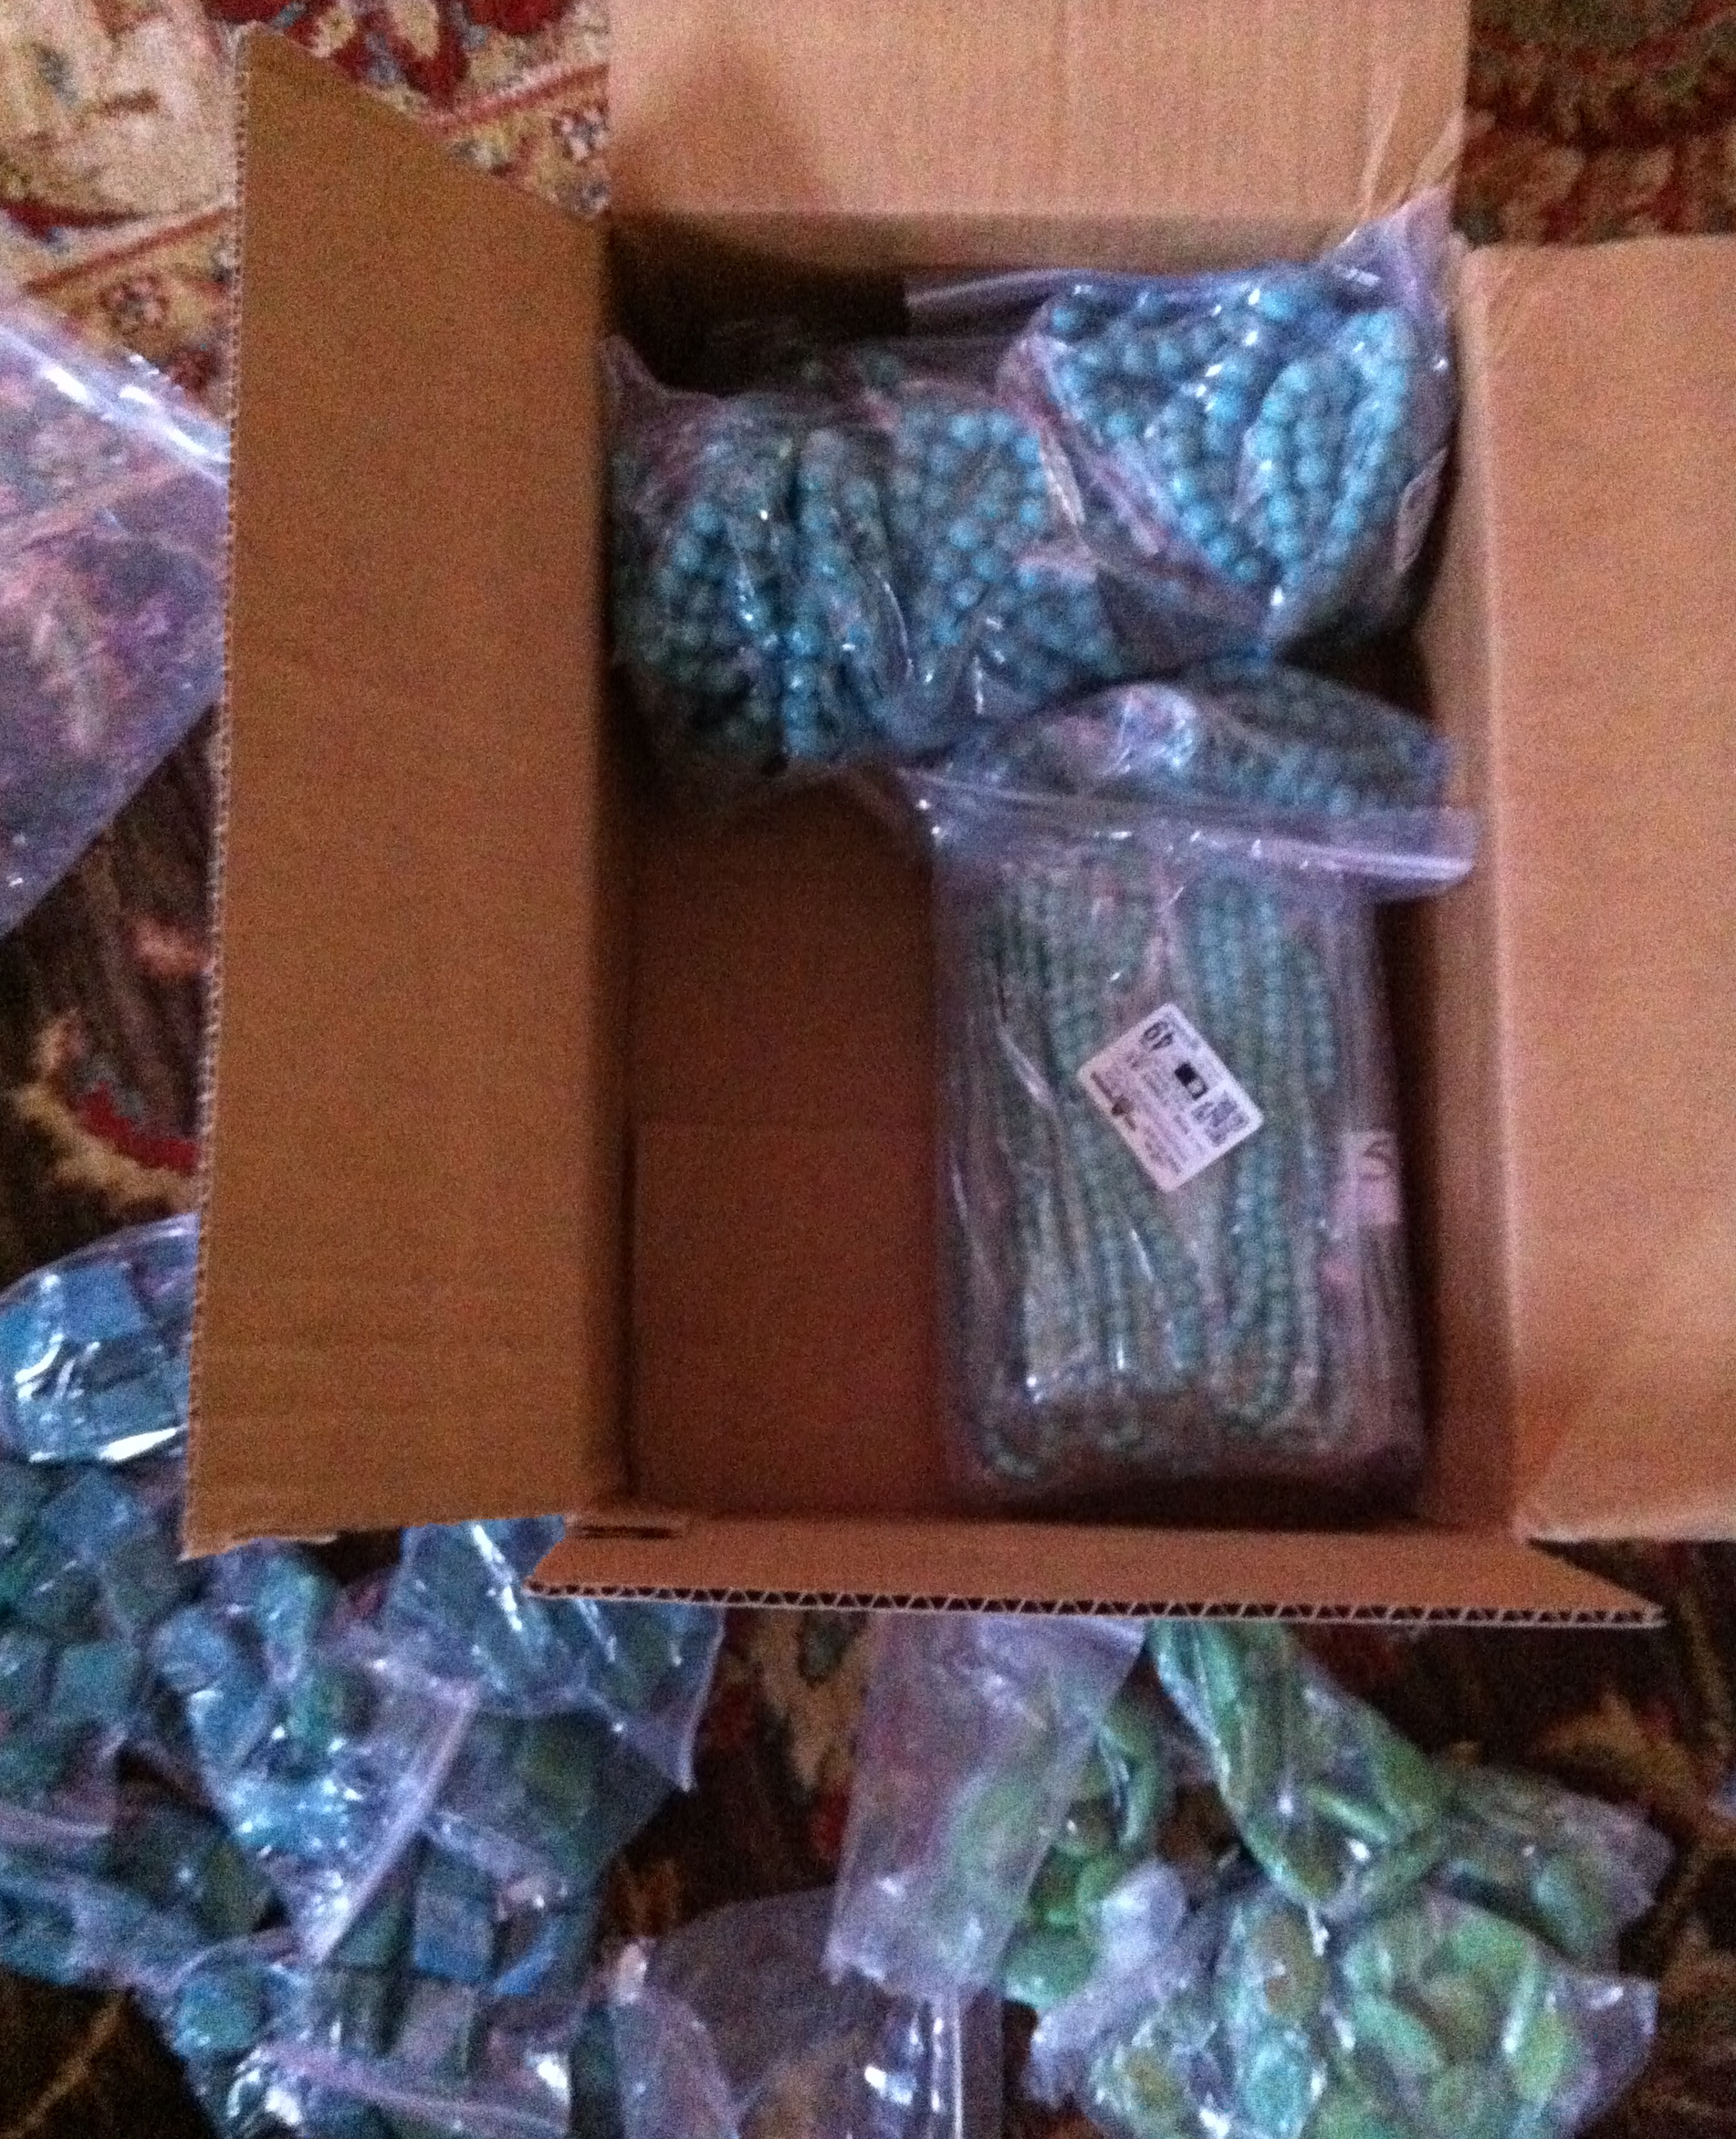
The beads are beautiful shades of turquoise and apple green and I began to experiment with placement…
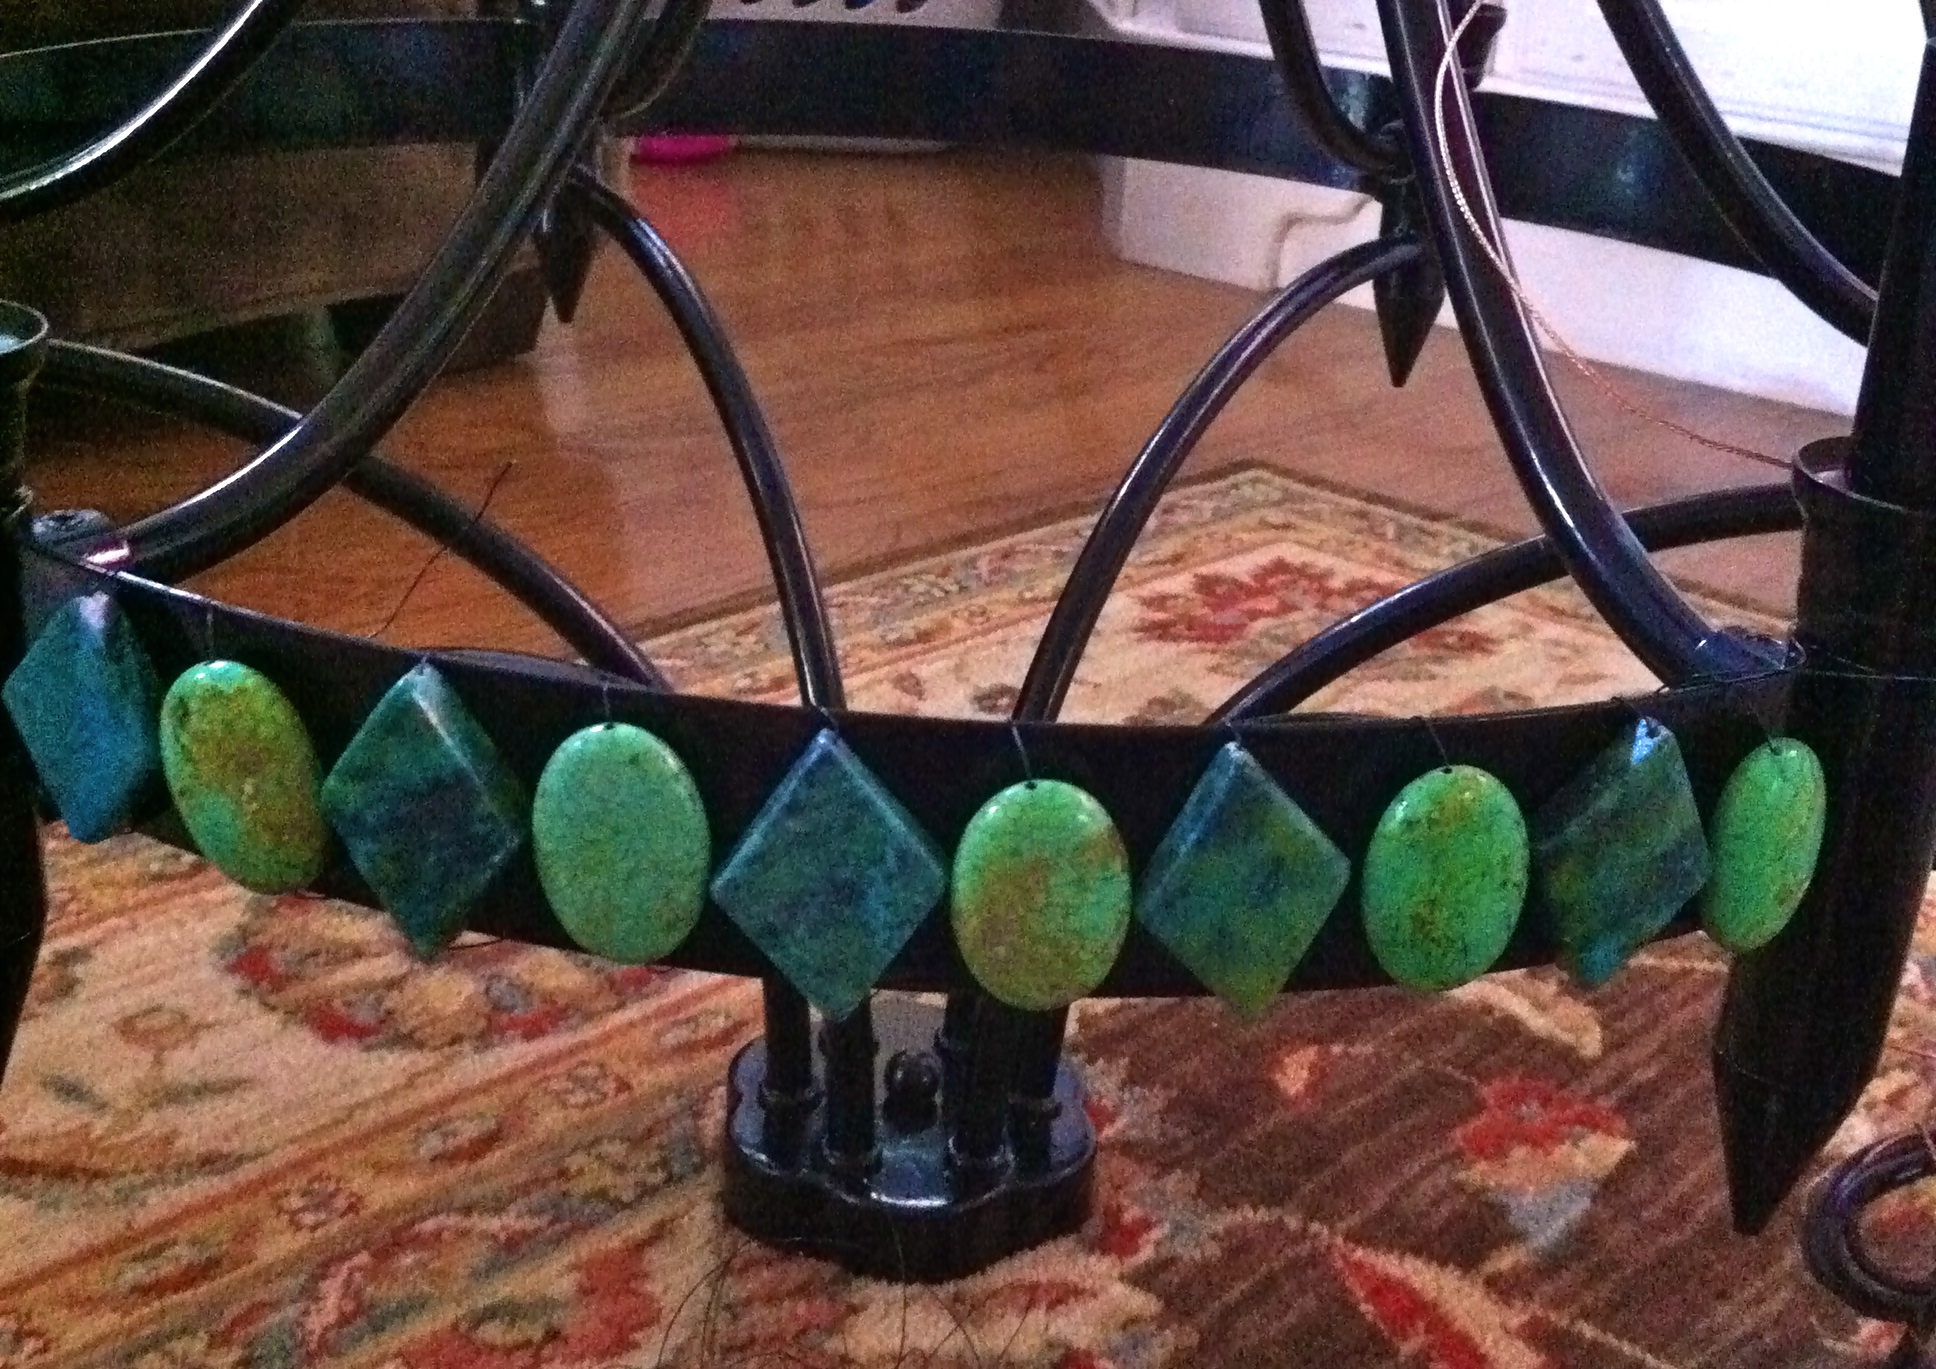
I liked this but I ended up with something a little different, more on that later. Then the tedious stringing of the beads began. I soon learned why that chandelier I liked costs so much, it is a lot of work!

After about 20+ hours of stringing and some really sore fingers…

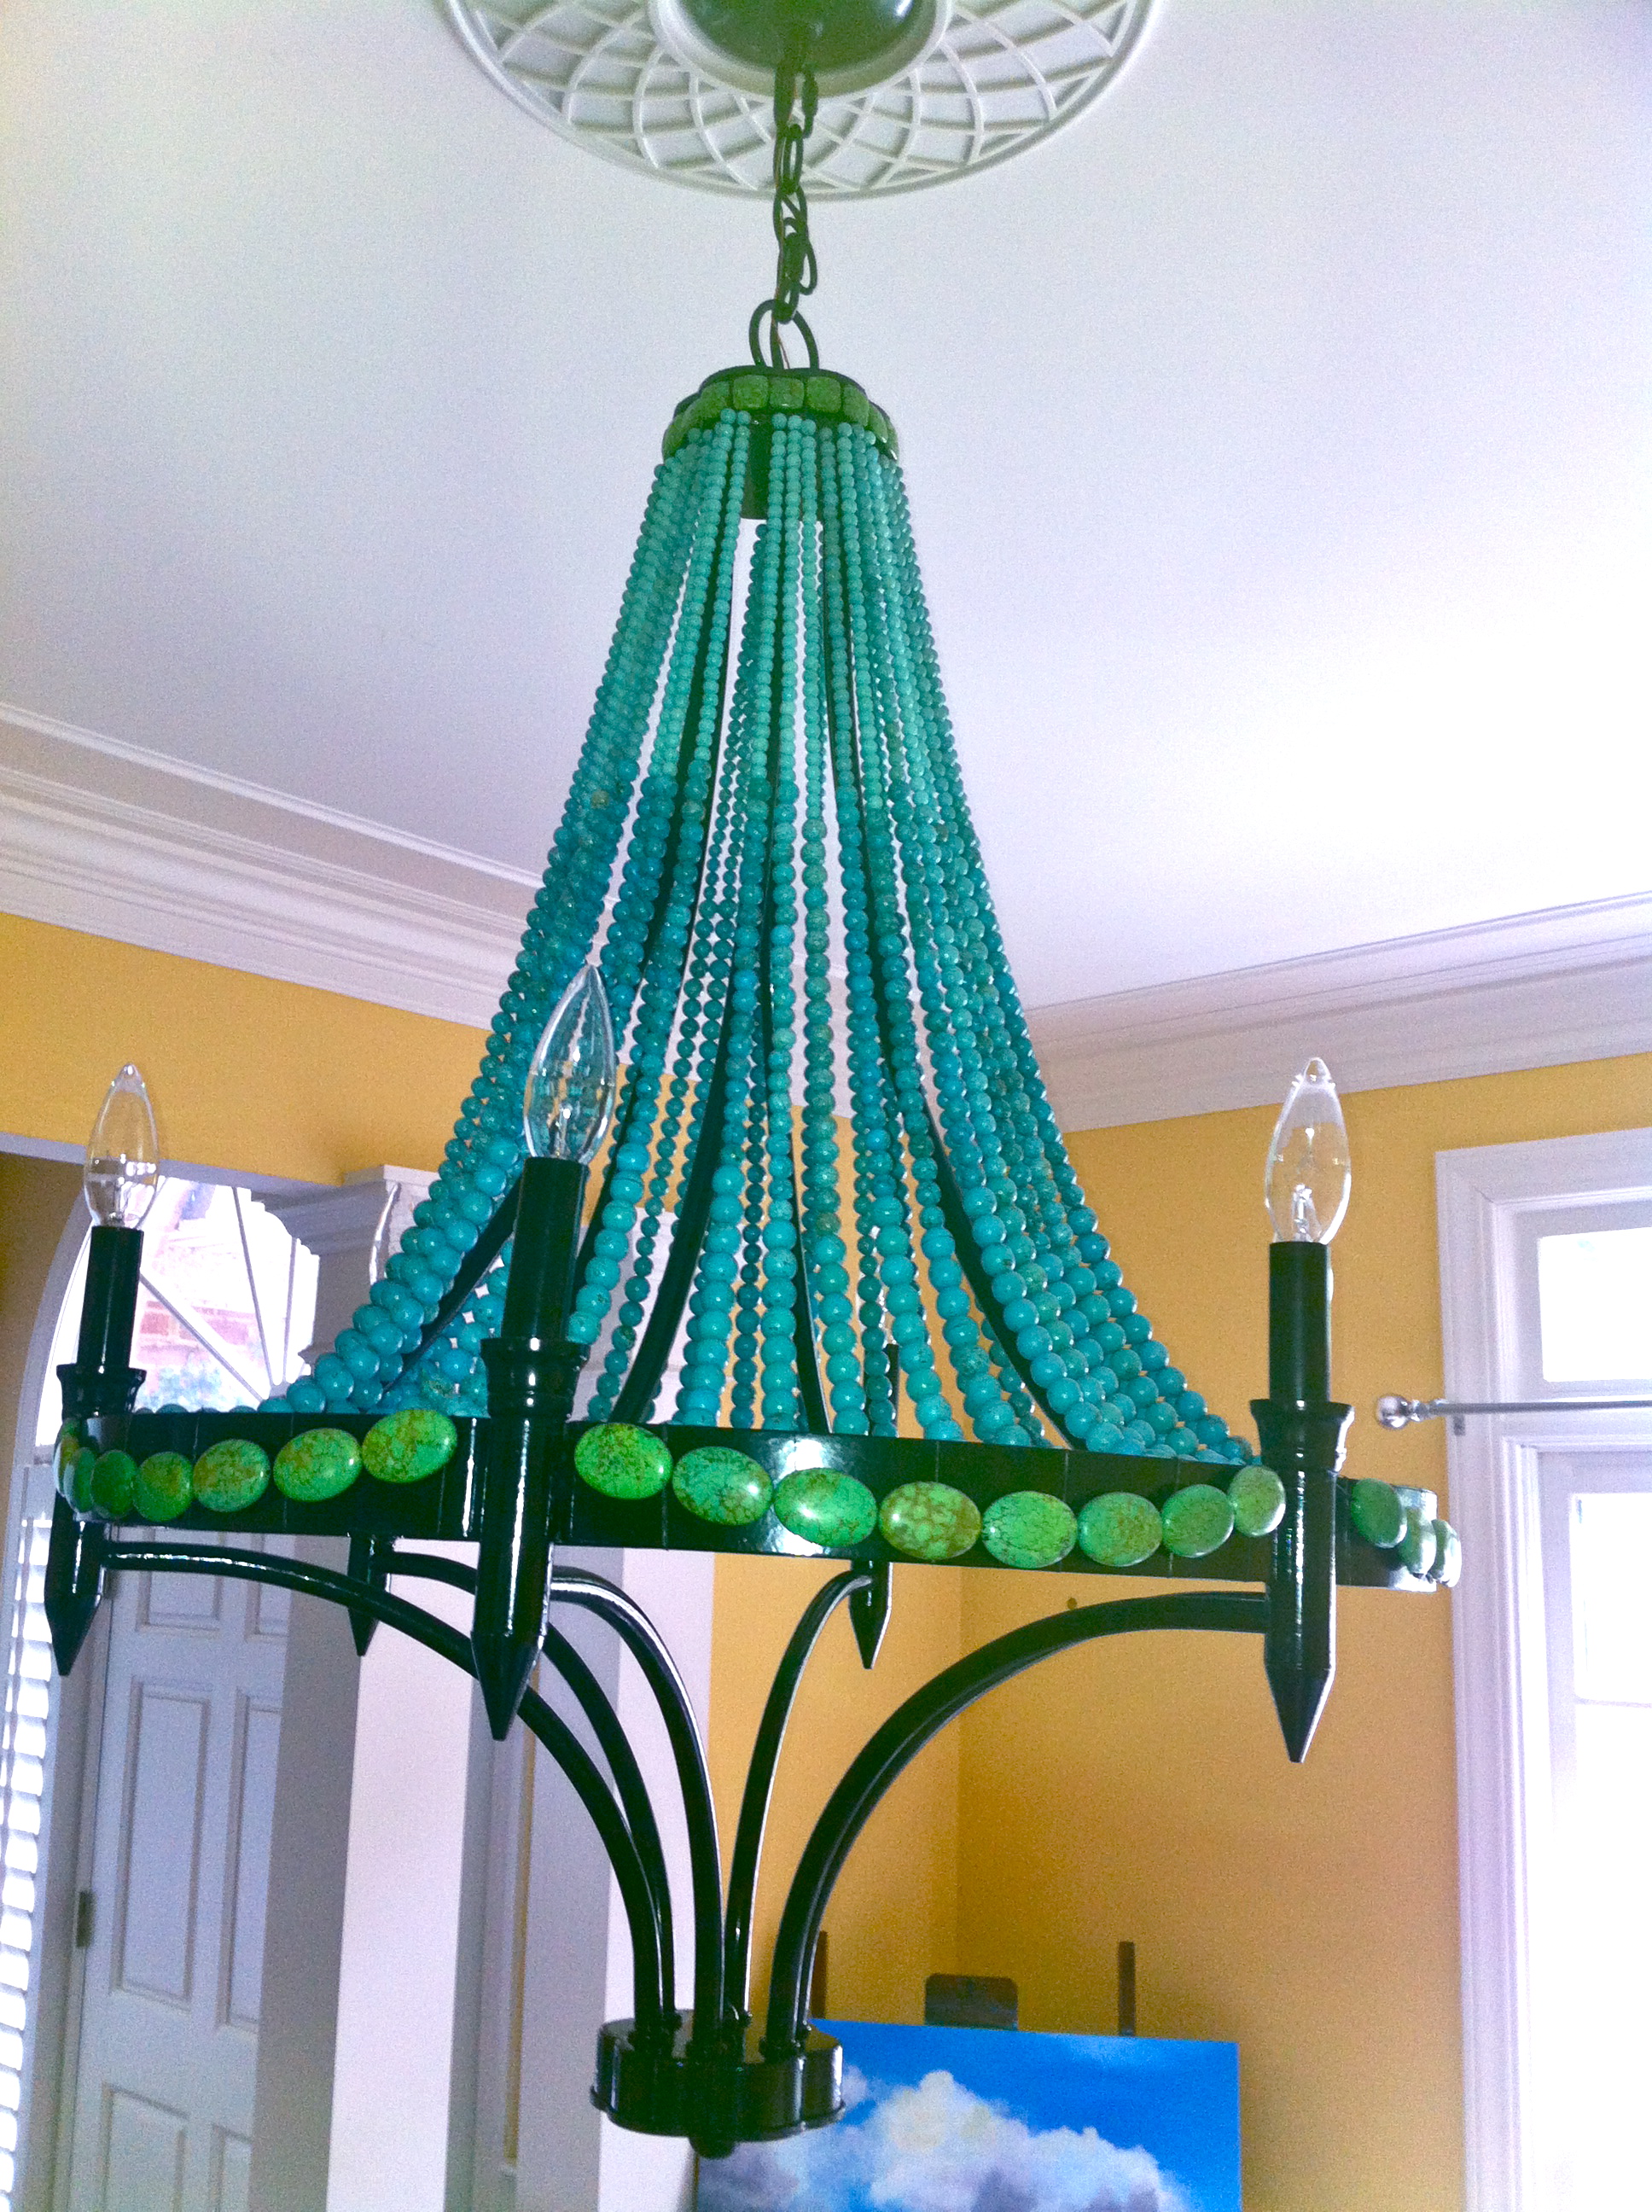
I added the apple green beads to the metal bands at the top and the bottom and I realized I liked the chandelier without the beads at the bottom but I wanted to hang it up to make sure. My wonderful husband said he could wire it …

He did a great job! It looks great without the beads at the bottom, I can always add them later but I don’t think it would add to it’s charm. Could be my sore fingers talking.
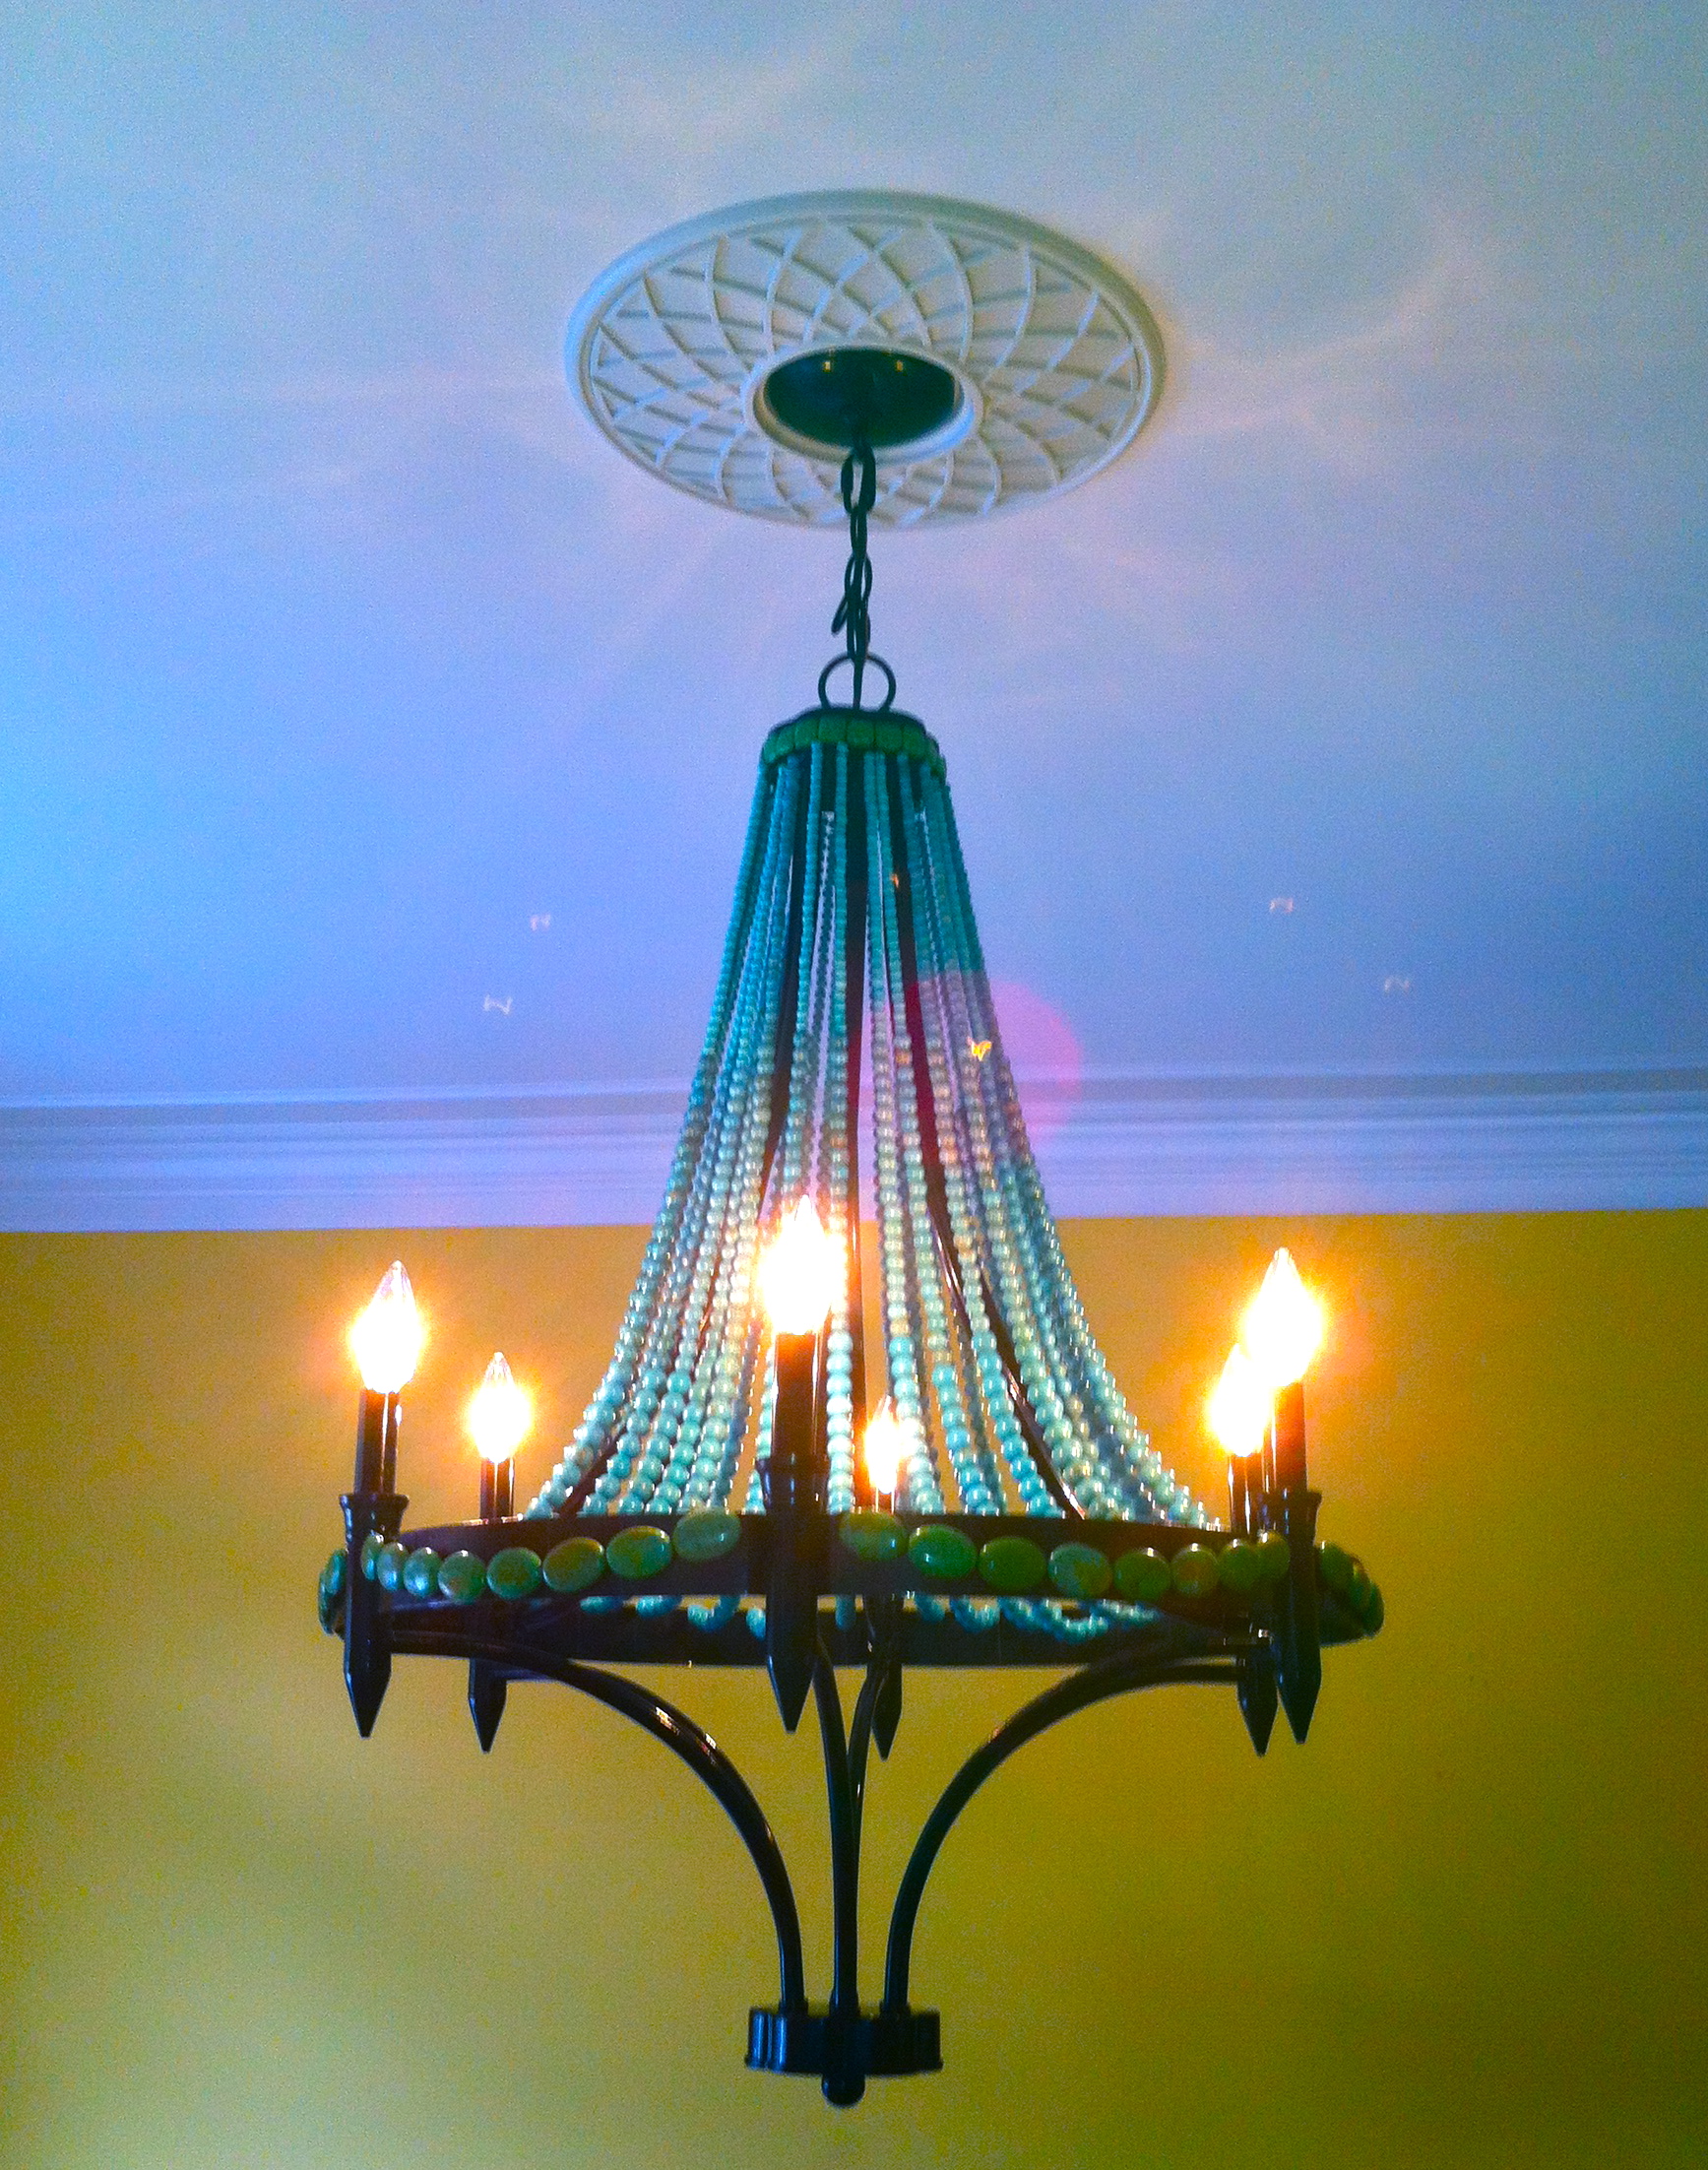
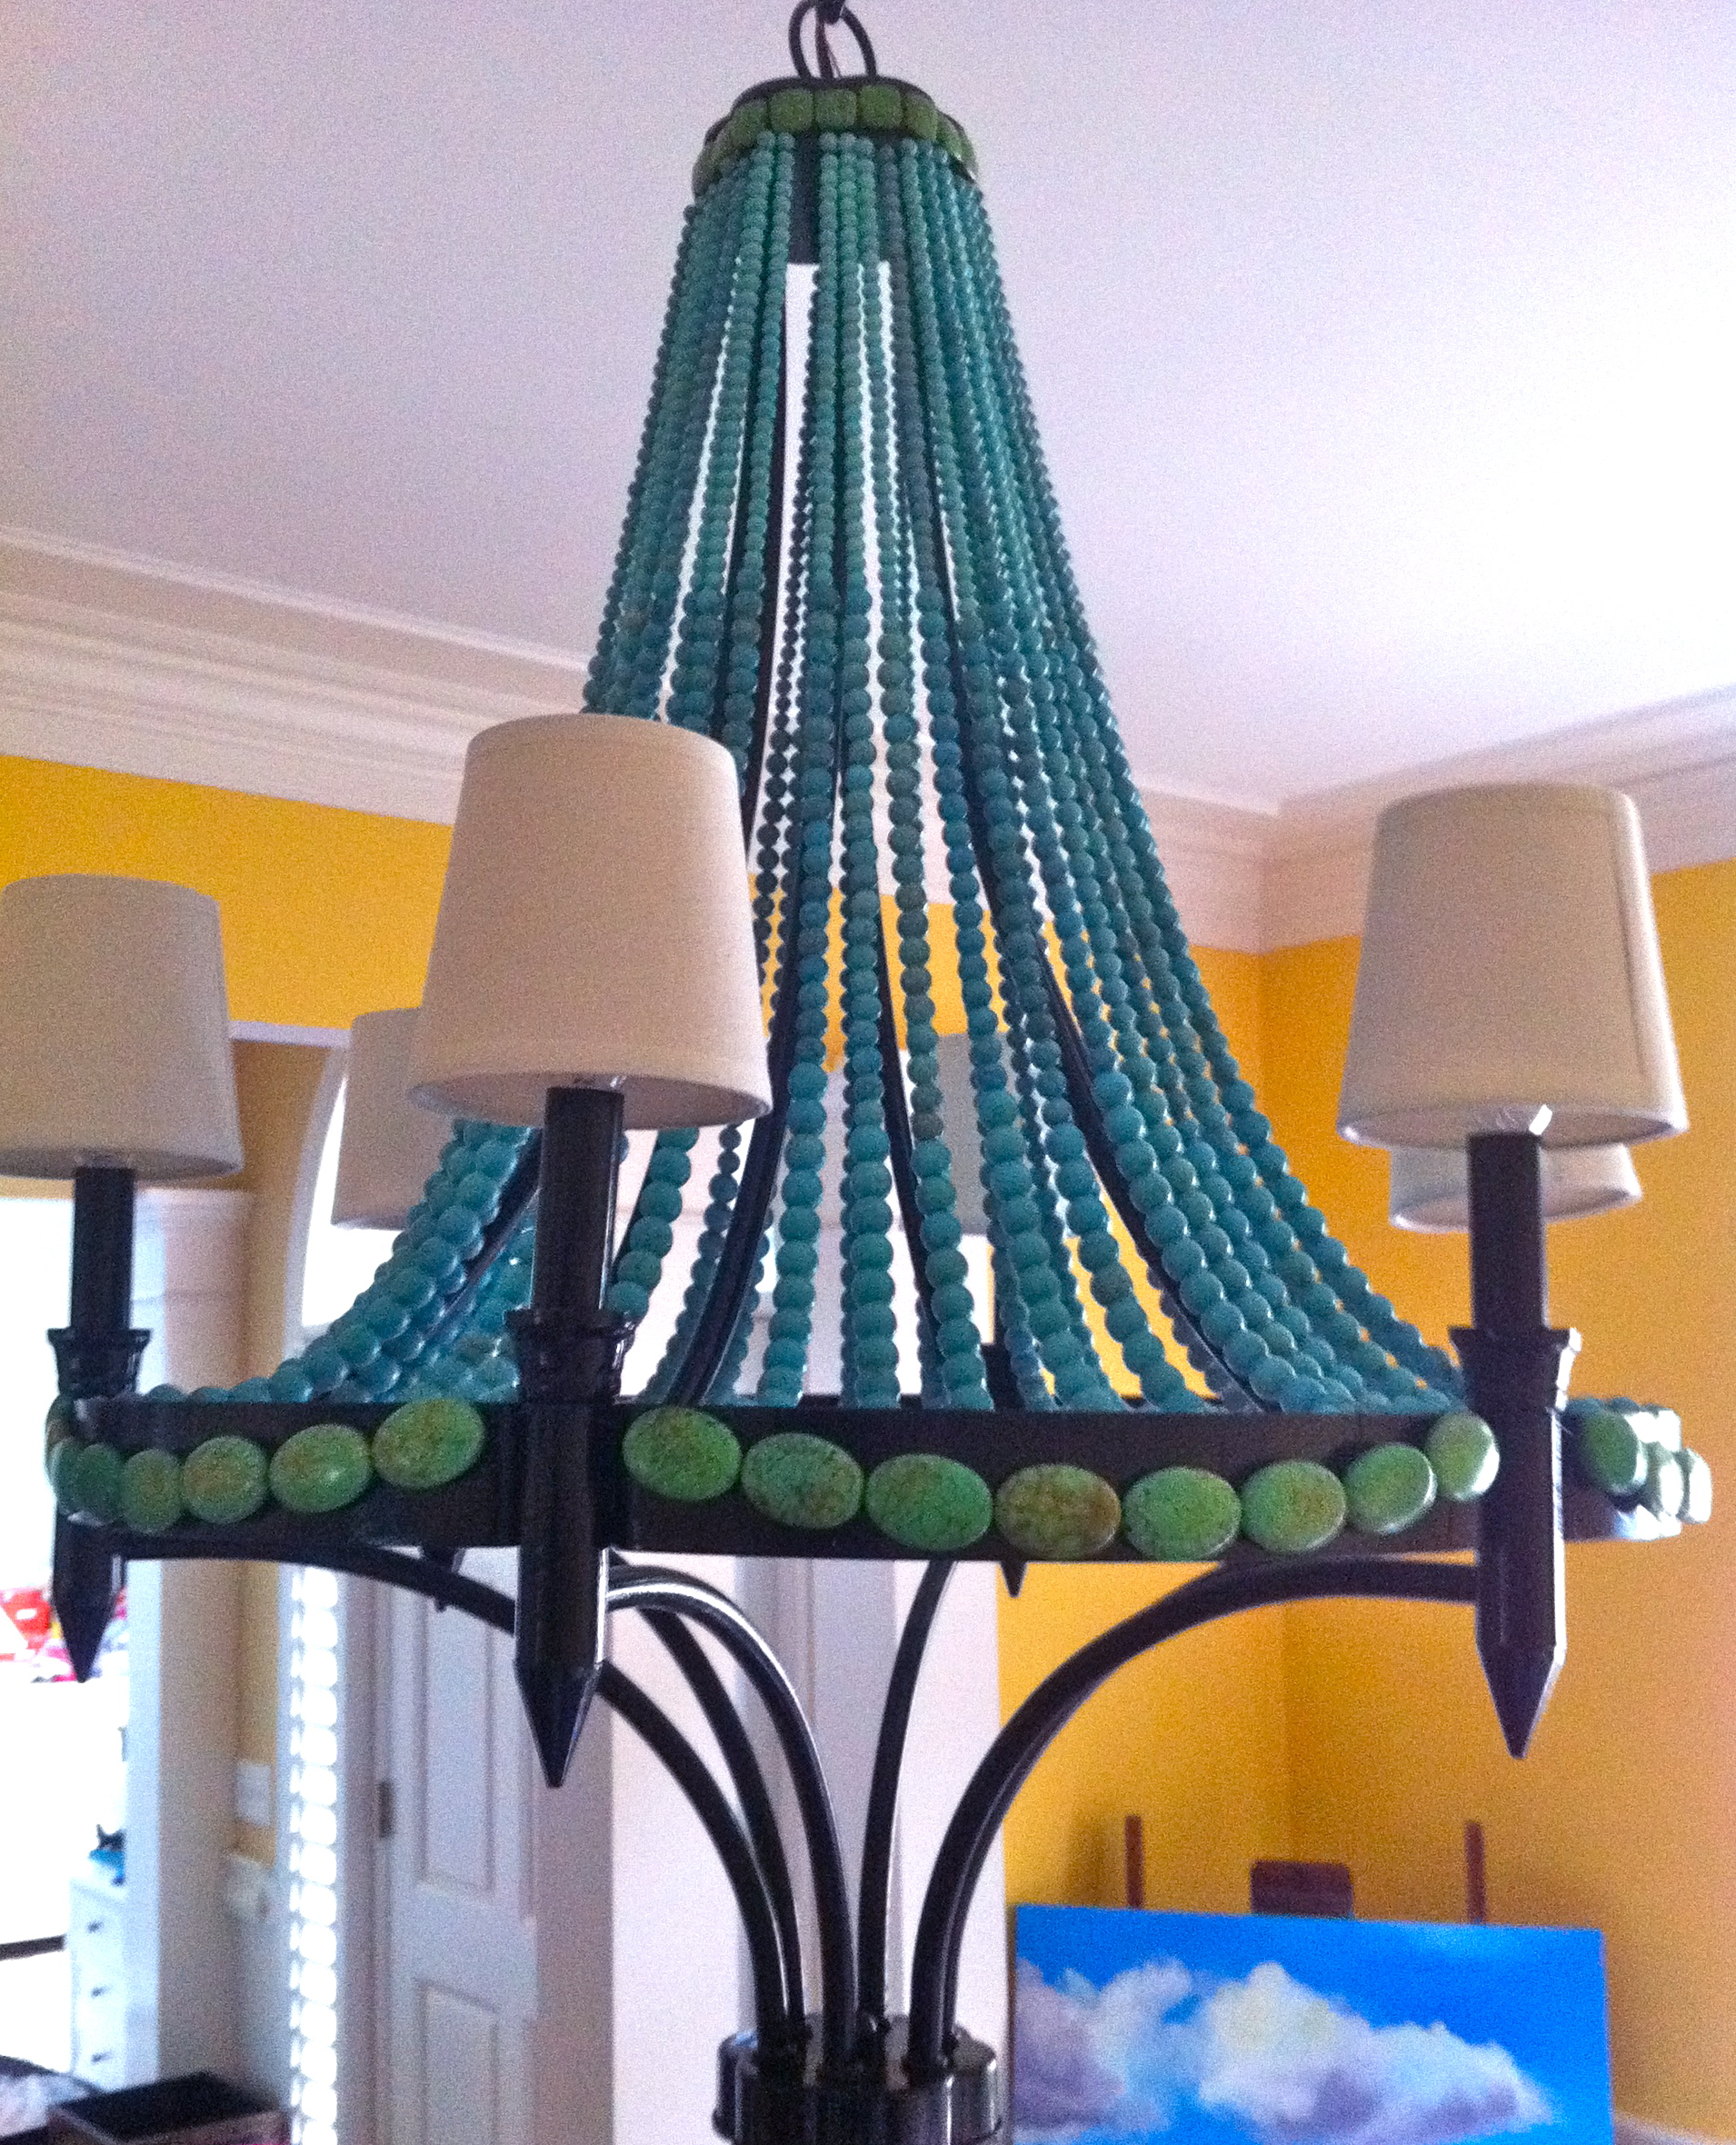
Can’t decide if I like it with or without the shades…

Now to choose paint color for the dining room now that the focal point is up! I bought an antique table a few years ago that I want to dig out and dust off, I think it will look great underneath the light.

That picture was taken before I cut all the strings : )
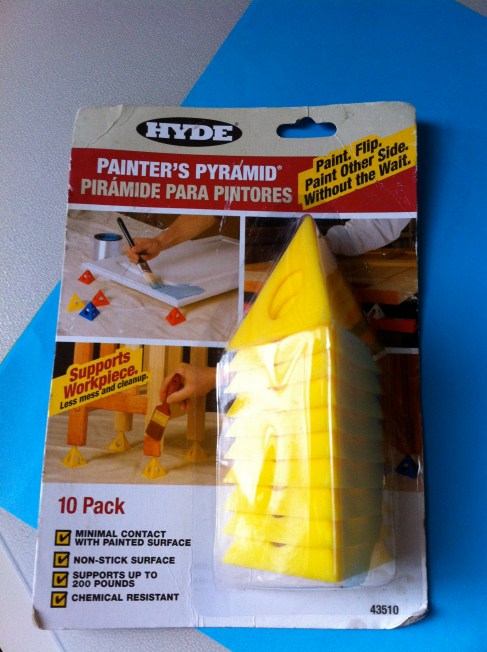
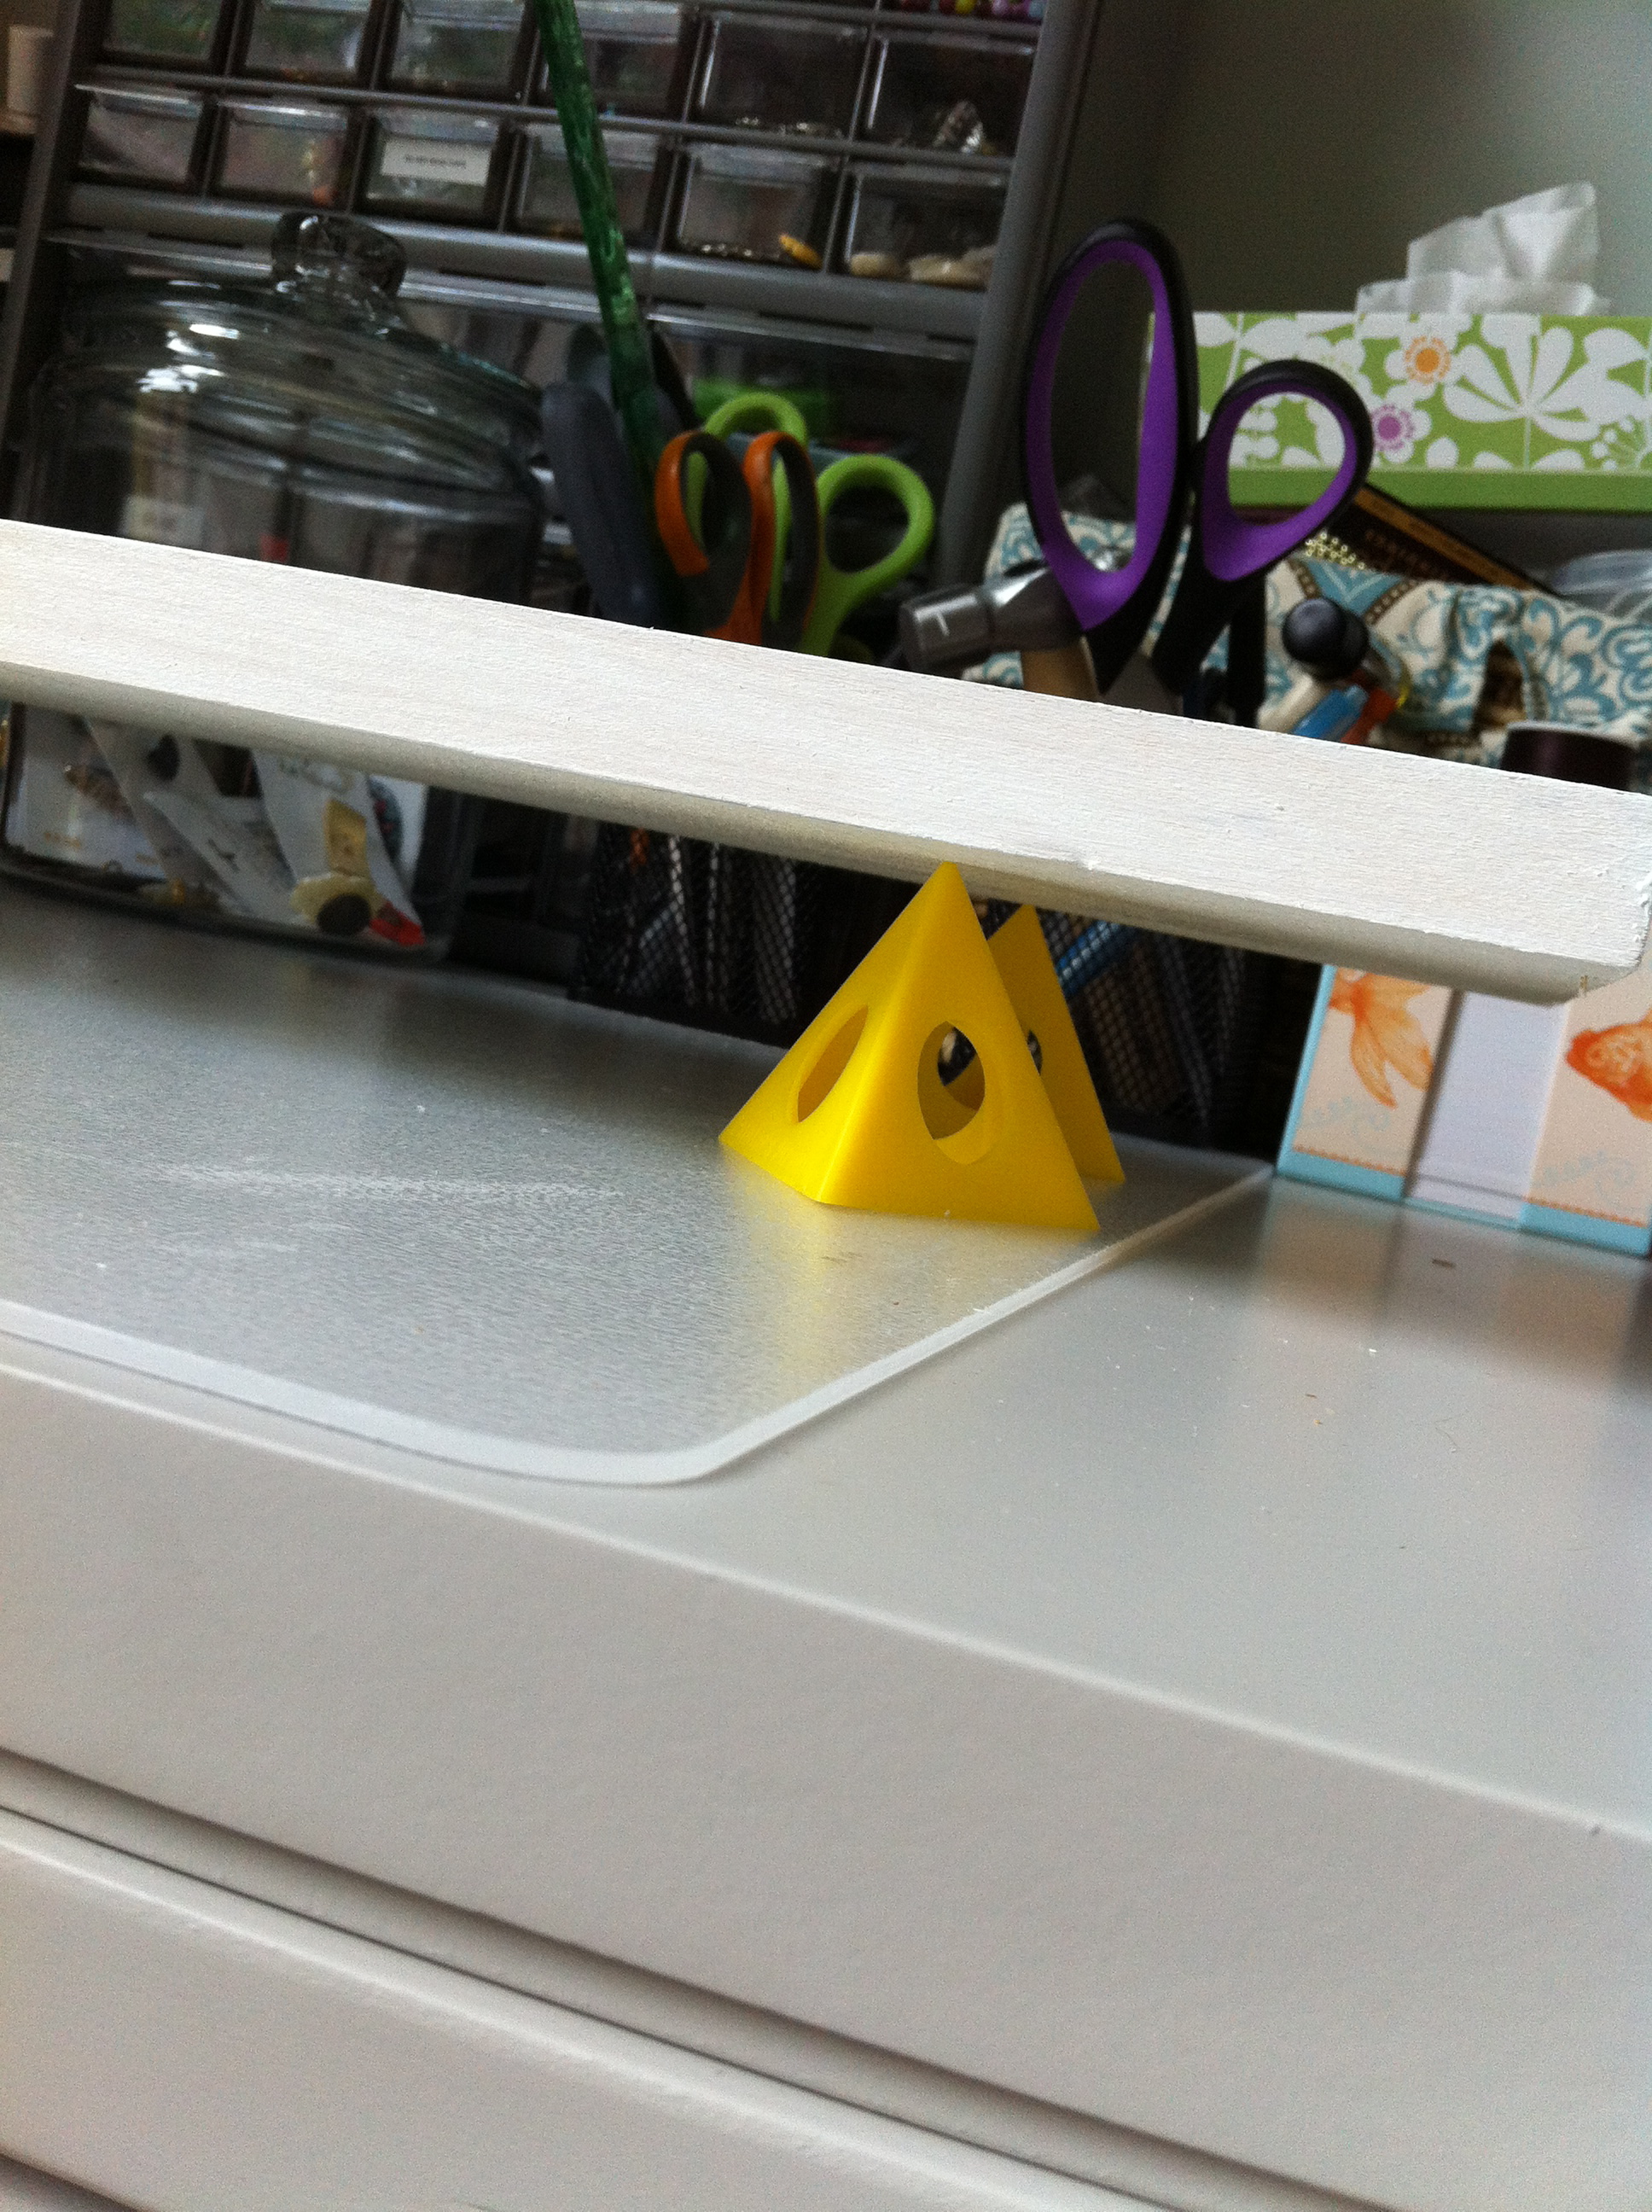
I picked these up at Lowe’s and I am glad I did, they really help to paint the sides of whatever it is you want to paint by elevating it.
I am painting a piece of board that I am going to mount my antique paper cutter on so I can move it around whenever I need to.


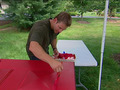

I am going to paint my front door today! I finished all the prep work yesterday and bought the paint, which is a dark turquoise color, and I am removing the hardware right now. It has been red for about 10 years now and I saw some beautiful aqua blue pots at Lowe’s and it inspired me to go ahead and paint the door to match the pots. I told you I have ADD!
This great tutorial from the DIY network is very helpful, I have always left the door on the hinges while painting but it is so easy to take it down. That makes it a lot easier to paint and keeps it from hitting the door frame before the paint dries.
How to Paint a Front Door : How-To : DIY Network.
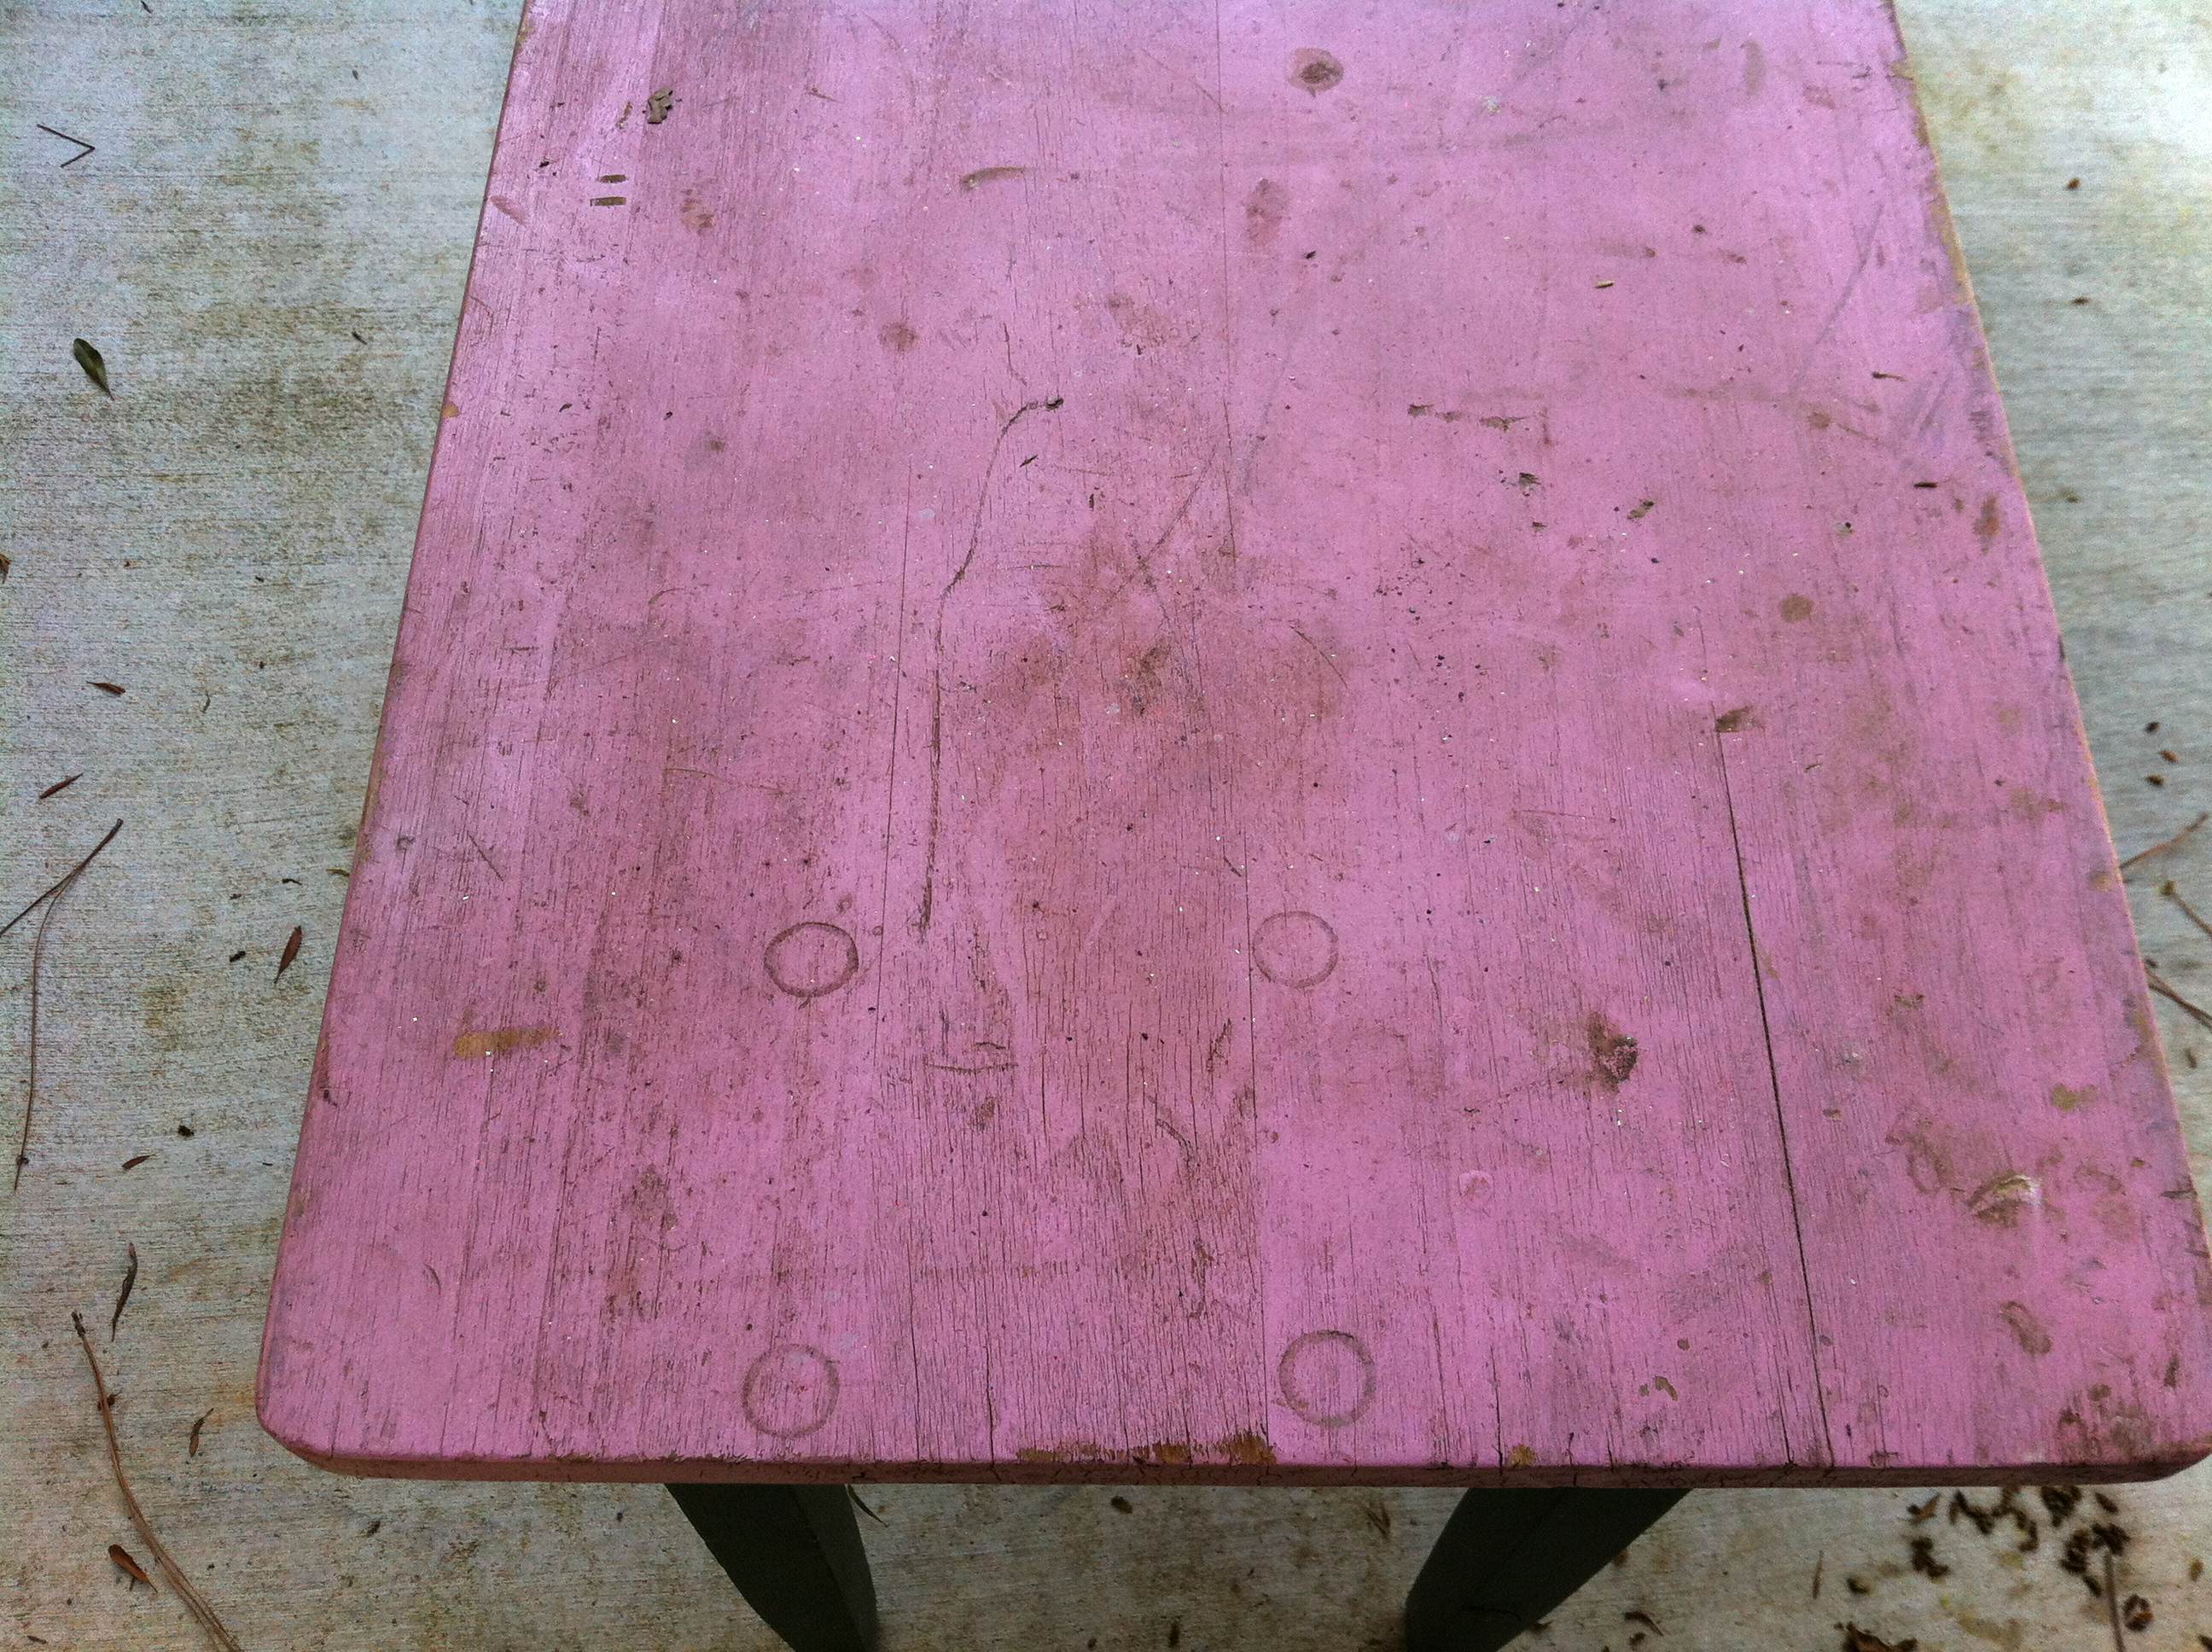
I was given this beat up, chewed on, spilled on, stained up, hideously painted little side table and I decided I want to spruce it up so I can use it beside my desk in my studio. My attention deficit disorder is pushing me to start that before I finish up the piano room but I am resisting the urge…it will have to wait! but it is going to be fabulous when I get done with it!


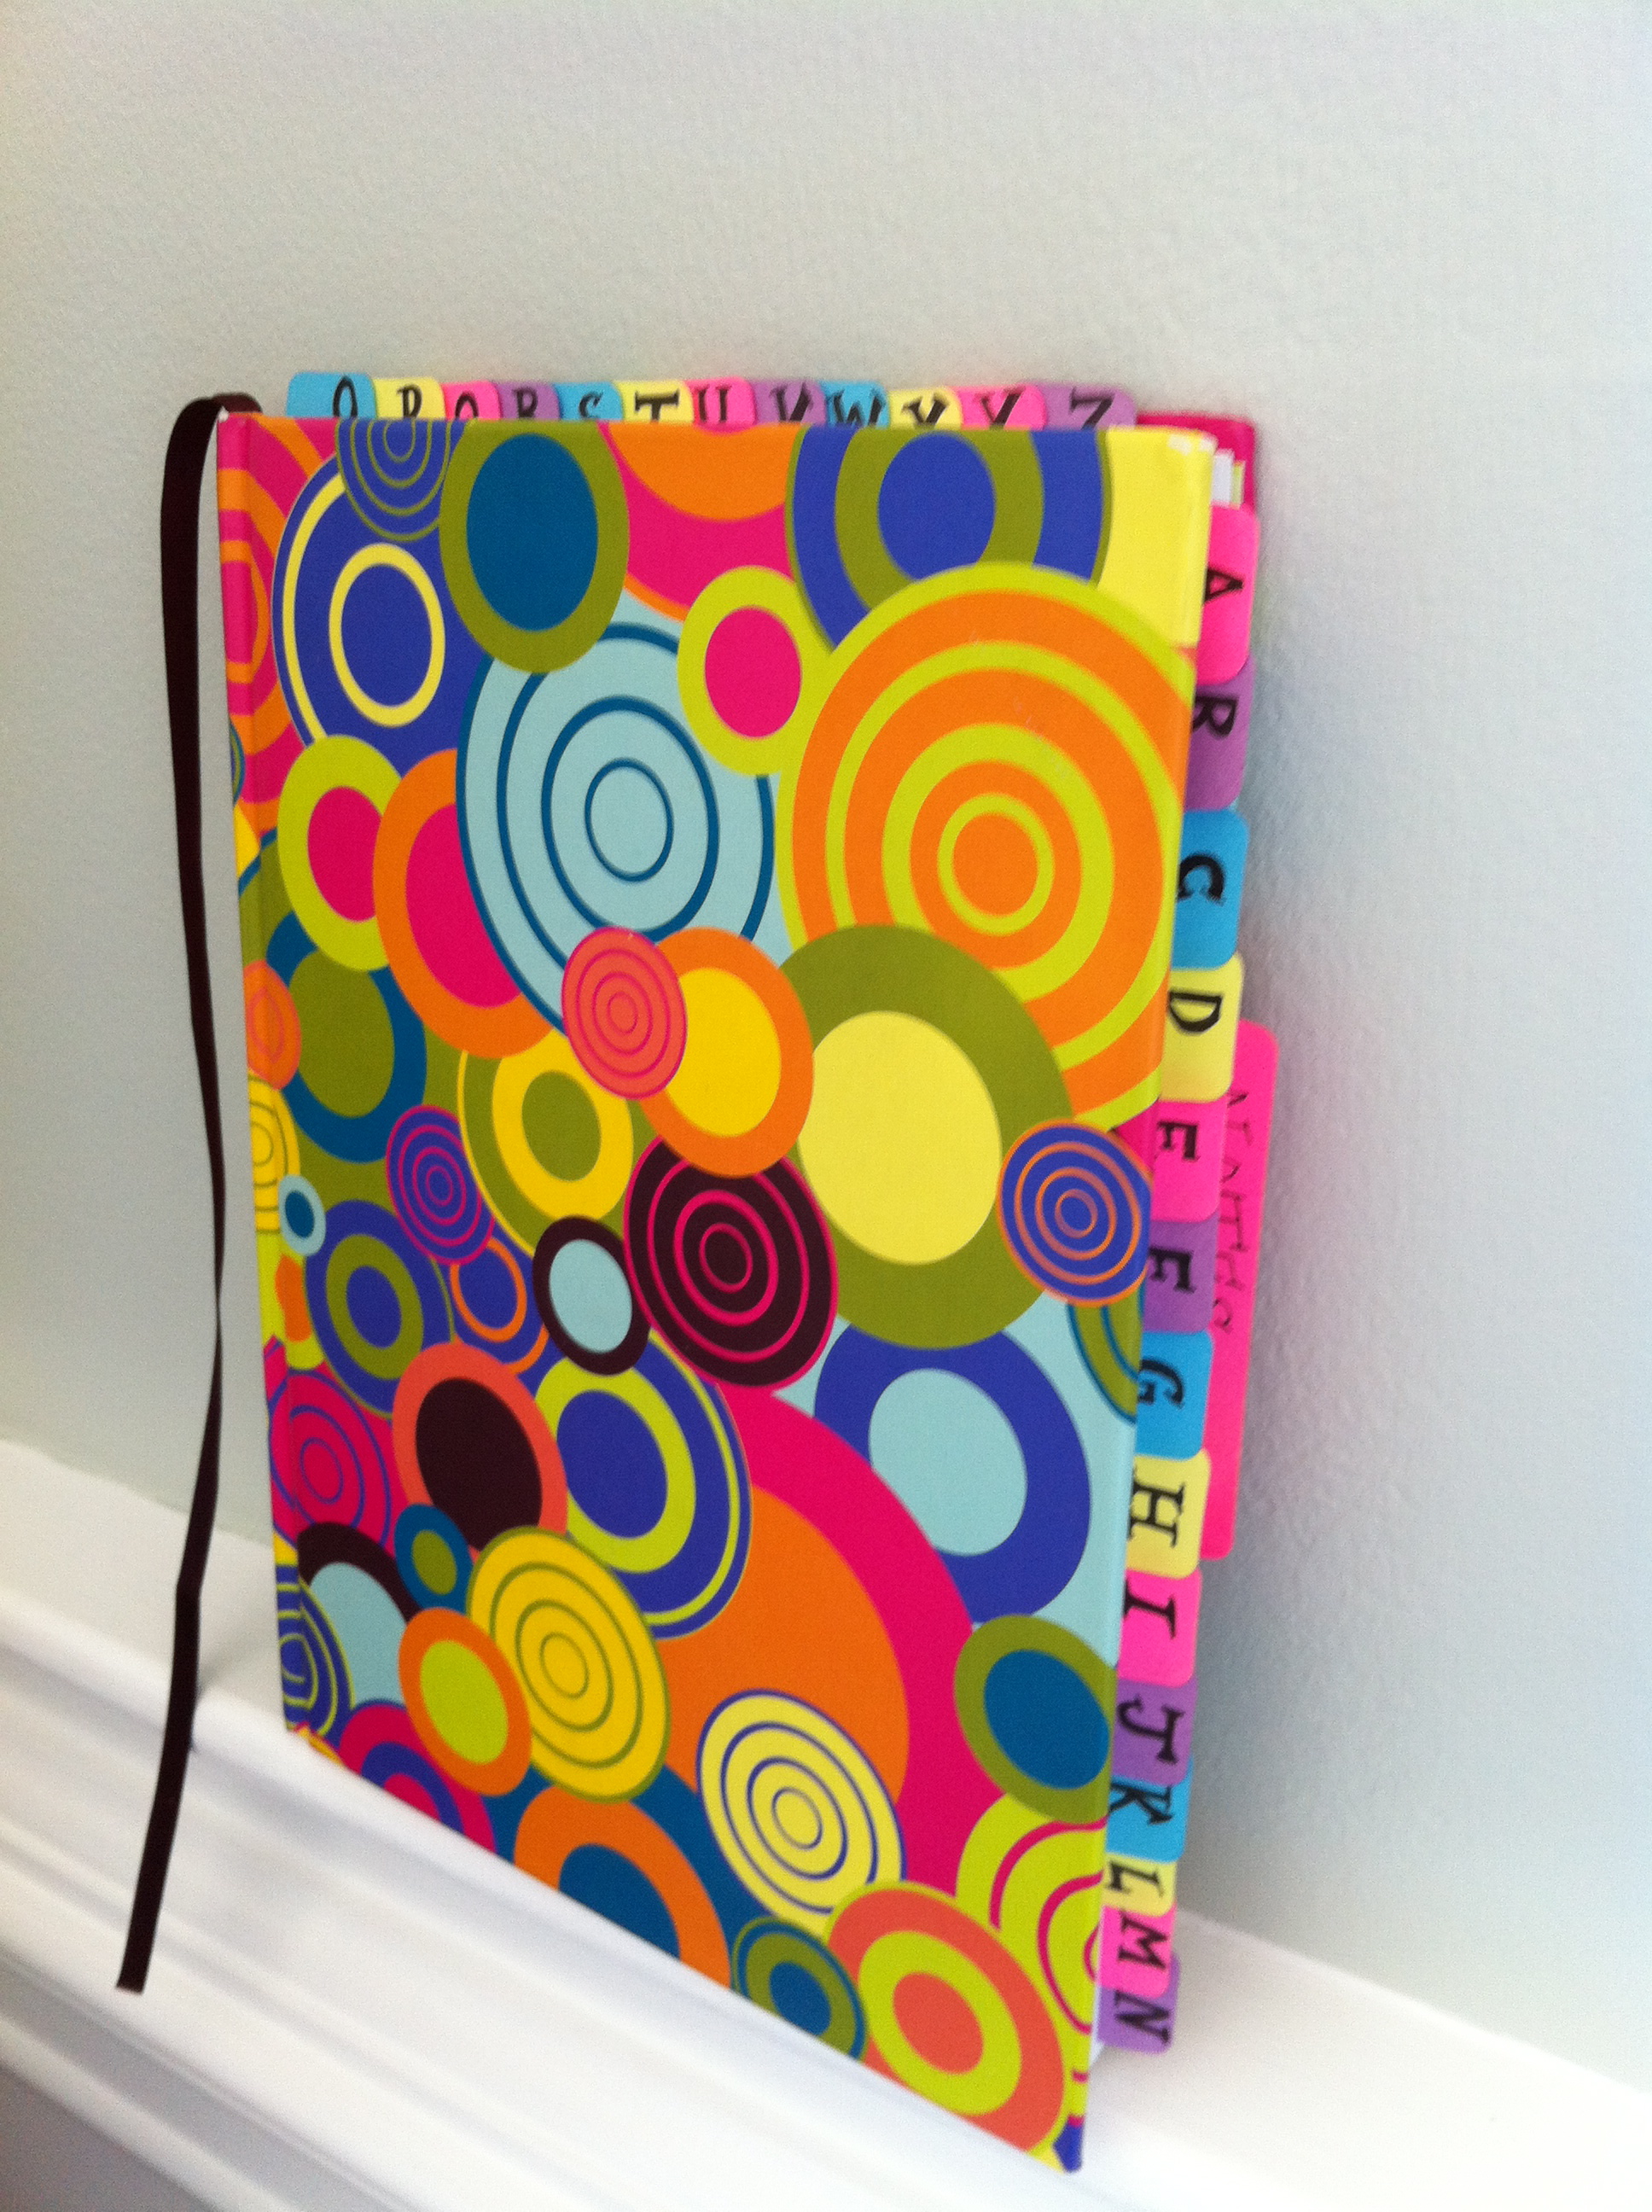
I looked and looked for a journal or book that I could use for my email addresses and website addresses but I never found one that I felt would serve the purpose. So I found a funky journal with lined pages and made my own. I used the Post-It tabs I found at Staples and wrote each letter of the alphabet on separate tabs and attached them to the edges of every couple of pages. Then I added a bigger tab for notes near the end of the journal. Now I have the perfect place to record the information I need for websites and addresses.