Would love the find an original sign like this!

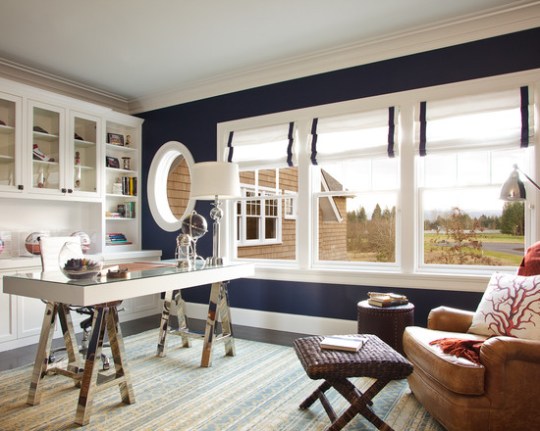
Nautical Decor – Nautical Wall Decor – Atlantic Coast Metal… – Polyvore.

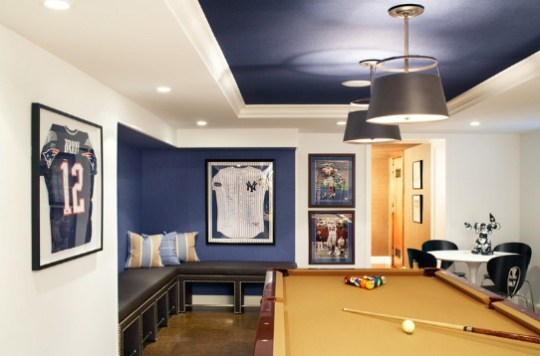


Considering this for the basement renovation…
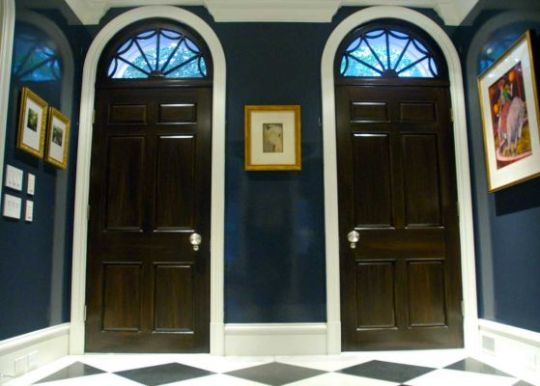
Photo credit: The Washington Post/ Ricci Shryock | Designer Zoe Feldman pairs glossy navy walls with dark doors for a chic entry. Illustrates DESIGN-NAVY (category l), by Terri Sapienza (c) 2011, The Washington Post. Moved Friday, Oct. 14, 2011.
Lowe’s is having a big sale on appliances through 9/04/12! 10% -25% on major appliances $399 or more…
 Boy do I need appliances, every one of mine are at least 15 years old and falling apart. My oven timer sounds like a dying elephant every time it goes off and sometimes I can’t get it to shut off, it scares the neighbors.
My Mom came over last weekend and said “Lori, you know you are going to have to get a new refrigerator at some point?” When my Mom says something like that ( her SpeedQueen dryer is over 40 years old…not kidding) then it is WAY past time to get a new refrigerator. The thing leaks water in the freezer side and ice builds up on the bottom and I have to get the ice pick out to get the door closed, the drawers are all gone in the refrigerator side, everything freezes in the middle section of the refrigerator side so yes mother, it is time!
Appliances at Lowe’s: Refrigerators, Dishwashers, Microwaves, Small Appliances.
This summer has been a very busy one, I cannot believe the girls are already back at school! Between helping my sister Susie and doing some work around my own house I have picked up quite a few skills! Here is a list of some the things I learned how to do:
1. I learned how to tile a backsplash!
*Very easy, Can’t wait to do this in my own kitchen as soon as I get all new appliances and countertops.
2. I learned how to install a light fixture.
3. I learned how to install several types of flooring.
4. I learned how to grout tile.
5. I installed drywall.
6. THIS IS A BIG ONE…I learned how to use a compound miter saw!!! My Dad lent me his and I LOVE this thing!! I have always wanted to learn how to use one and it has so many uses, especially for my next learning experience…
7. I learned how to install molding.
8. I watched my window installer install our replacement windows. I think I could do it with help, definitely not a one person job. Also requires knowledge of different types of construction, which I do not have YET.
9. I learned how to frame a wall.
10. Last but definitely not least, I learned how to stand-up paddleboard!

This is the board I have, I love the blue color with the bamboo. It is 10’6″ long but is light enough for me to carry.
My dear husband, Steve, brought a SUP home as a 40th birthday surpise for me! I have really wanted one for a while and I was so excited to see this thing on top of his truck. It is so fun and is really good exercise, my legs were wobbly when I got off and my arms were sore from rowing! It really works your core muscles too, I need a paddleboarding buddy though. It would be a lot more fun with at least one friend to go rowing with.
So, as you can see, I had a full summer of hard work, fun, and learning. Now I’m off to paint the basement….
My sister Susie and I went on another shopping excursion looking for flooring that met all her requirements…
1. Had to be flexible to accomodate the uneven subfloor
2. Had to be a light color
3. Had to be fairly easy to install
We found some great vinyl, groutable, stick-on tiles at Lowes that fit the bill.

12″ x 24″ Oyster Travertine Travertine Finish Luxury Vinyl Tile
12″ x 24″ Oyster Travertine Travertine Finish Luxury Vinyl Tile
First we rolled on some Kilz primer and then let that dry a couple of hours.
Then I began laying the tiles starting on the wall that will be most visible so that it would be straight in case the walls were not plumb, which since it is an old house they are definitely not plumb!
I was able to lay the tiles out without using spacers because I have a pretty good eye but they would help if you don’t feel comfortable not using them. The process went smoothly and I didn’t have to do too much cutting because its a square room. A utility knife cuts it very well.
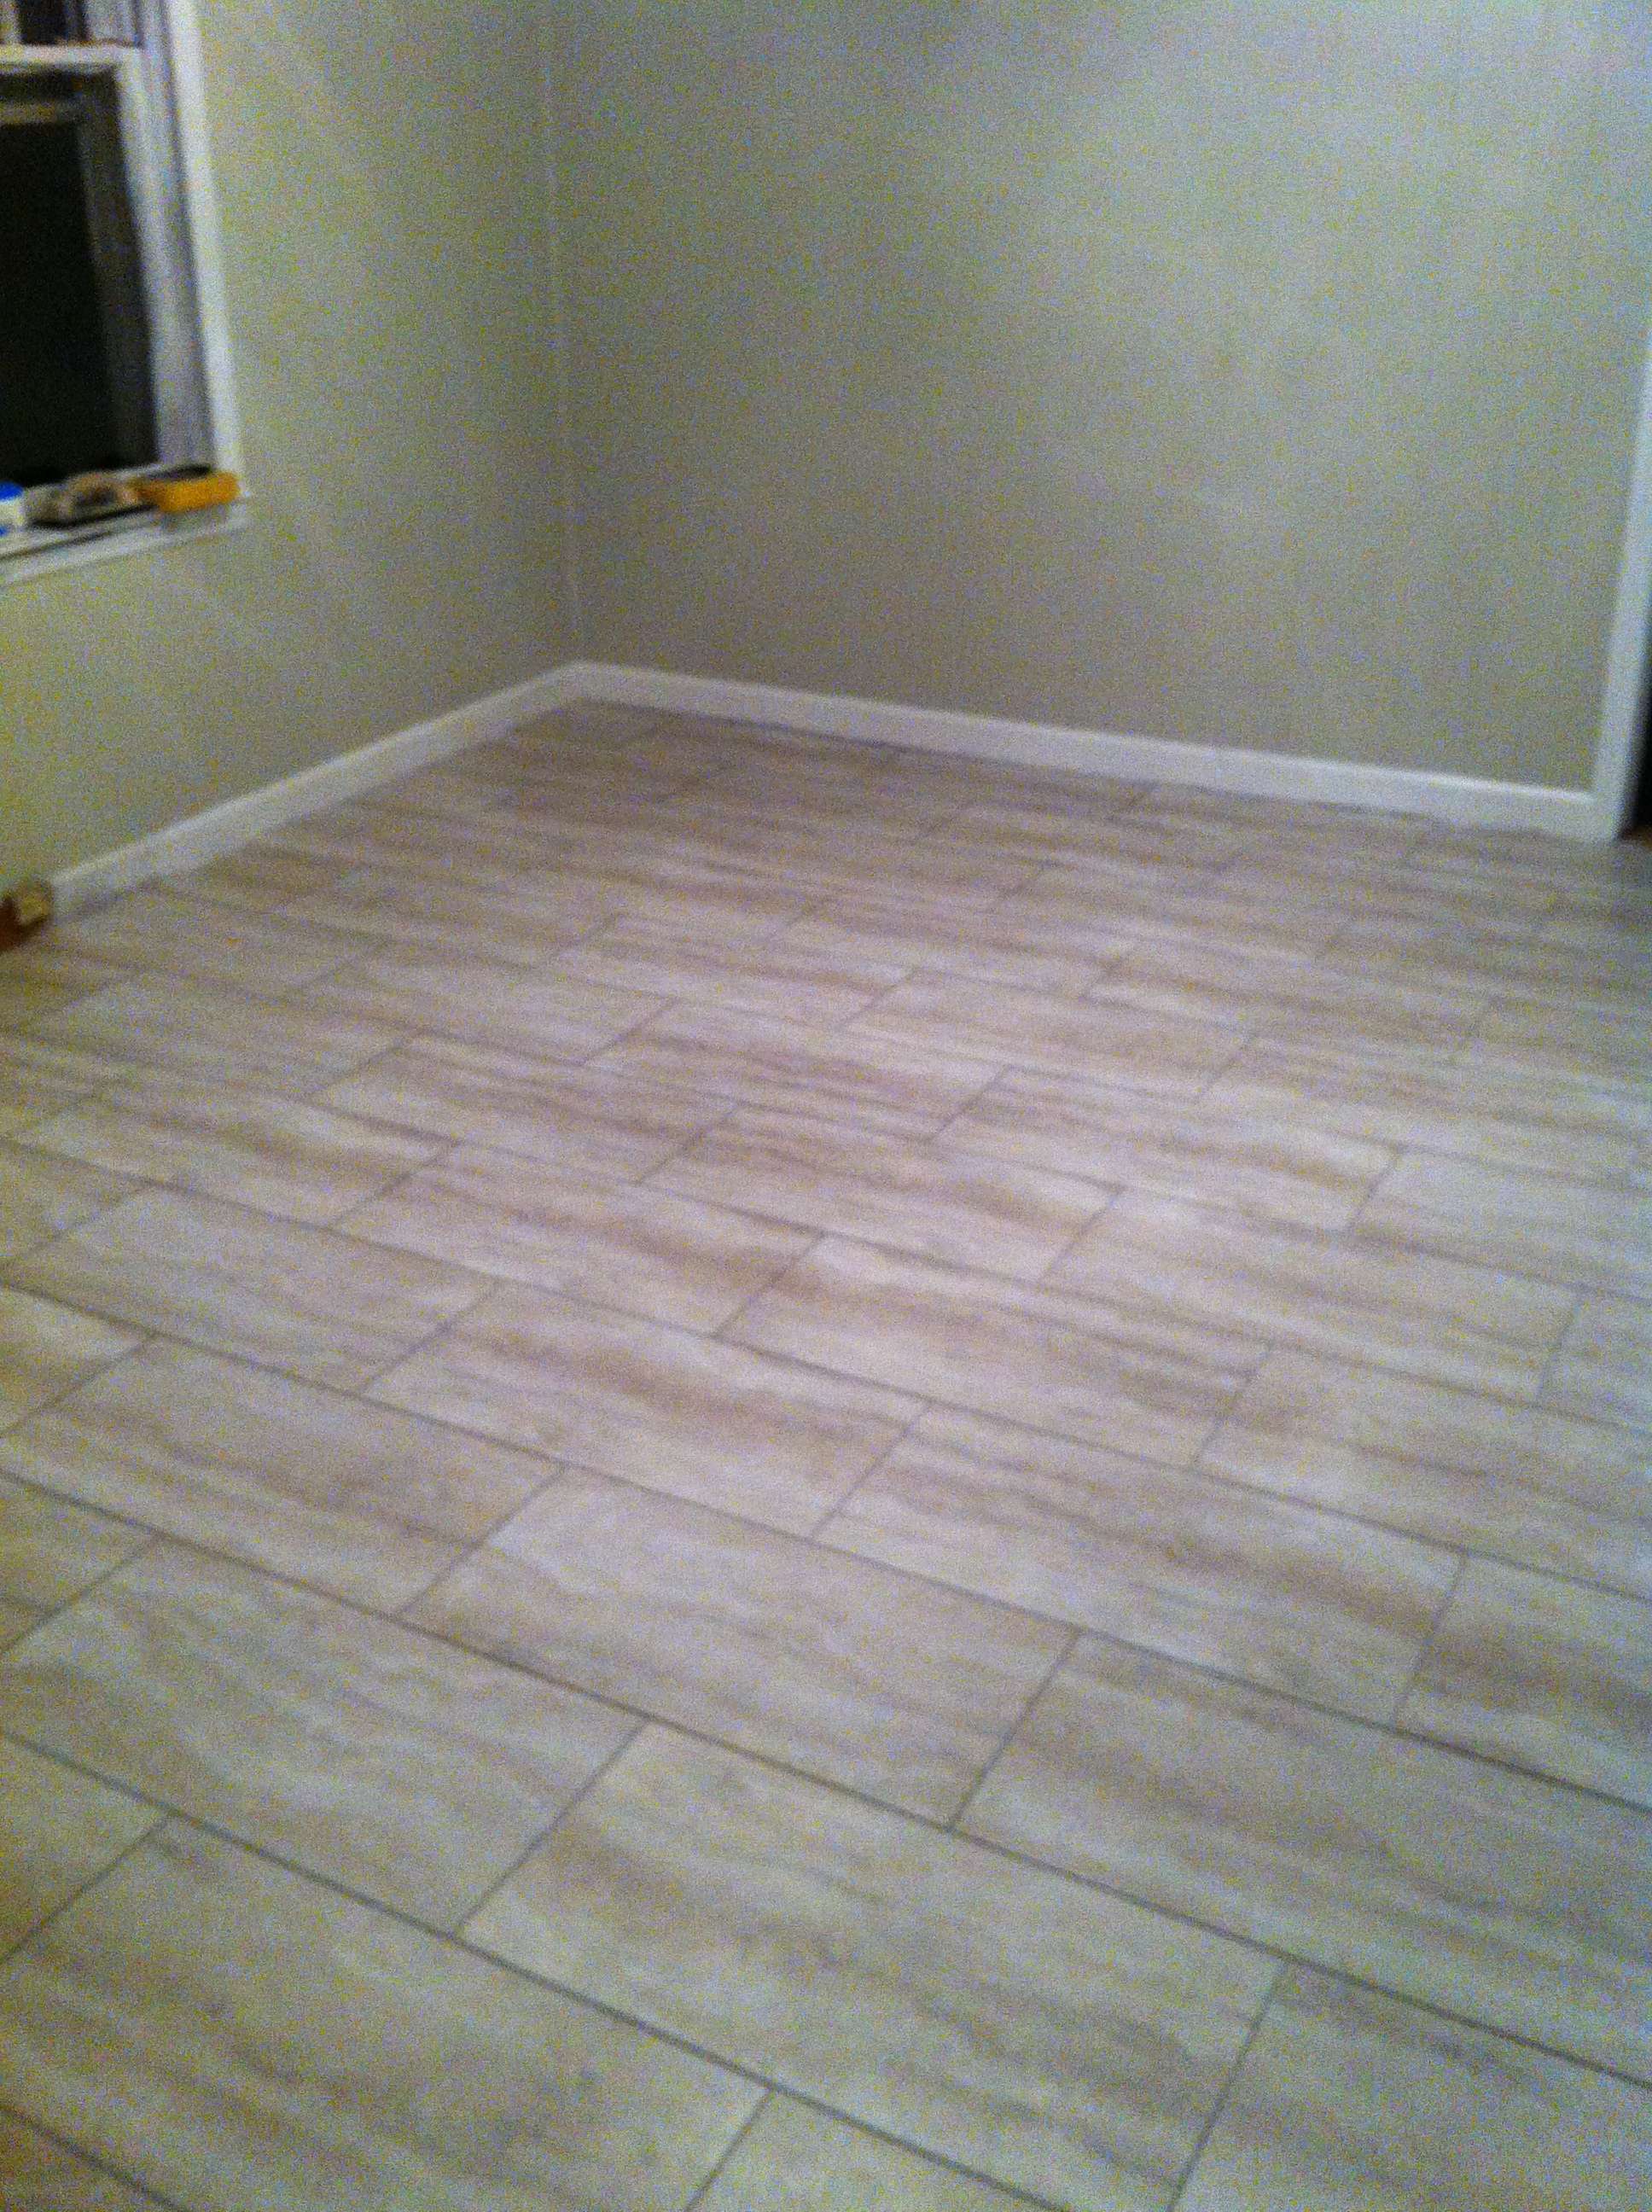 After all the tiles were laid I came back the next morning and started grouting with a special vinyl grout that is more flexible than regular grout. The tiles look and feel like travertine marble, especially since it is grouted which makes it very hard to tell the difference! This project was a huge success and I would recommend this product to anyone because of the ease of installation and at about $1.00 per square foot, you cannot beat the cost!

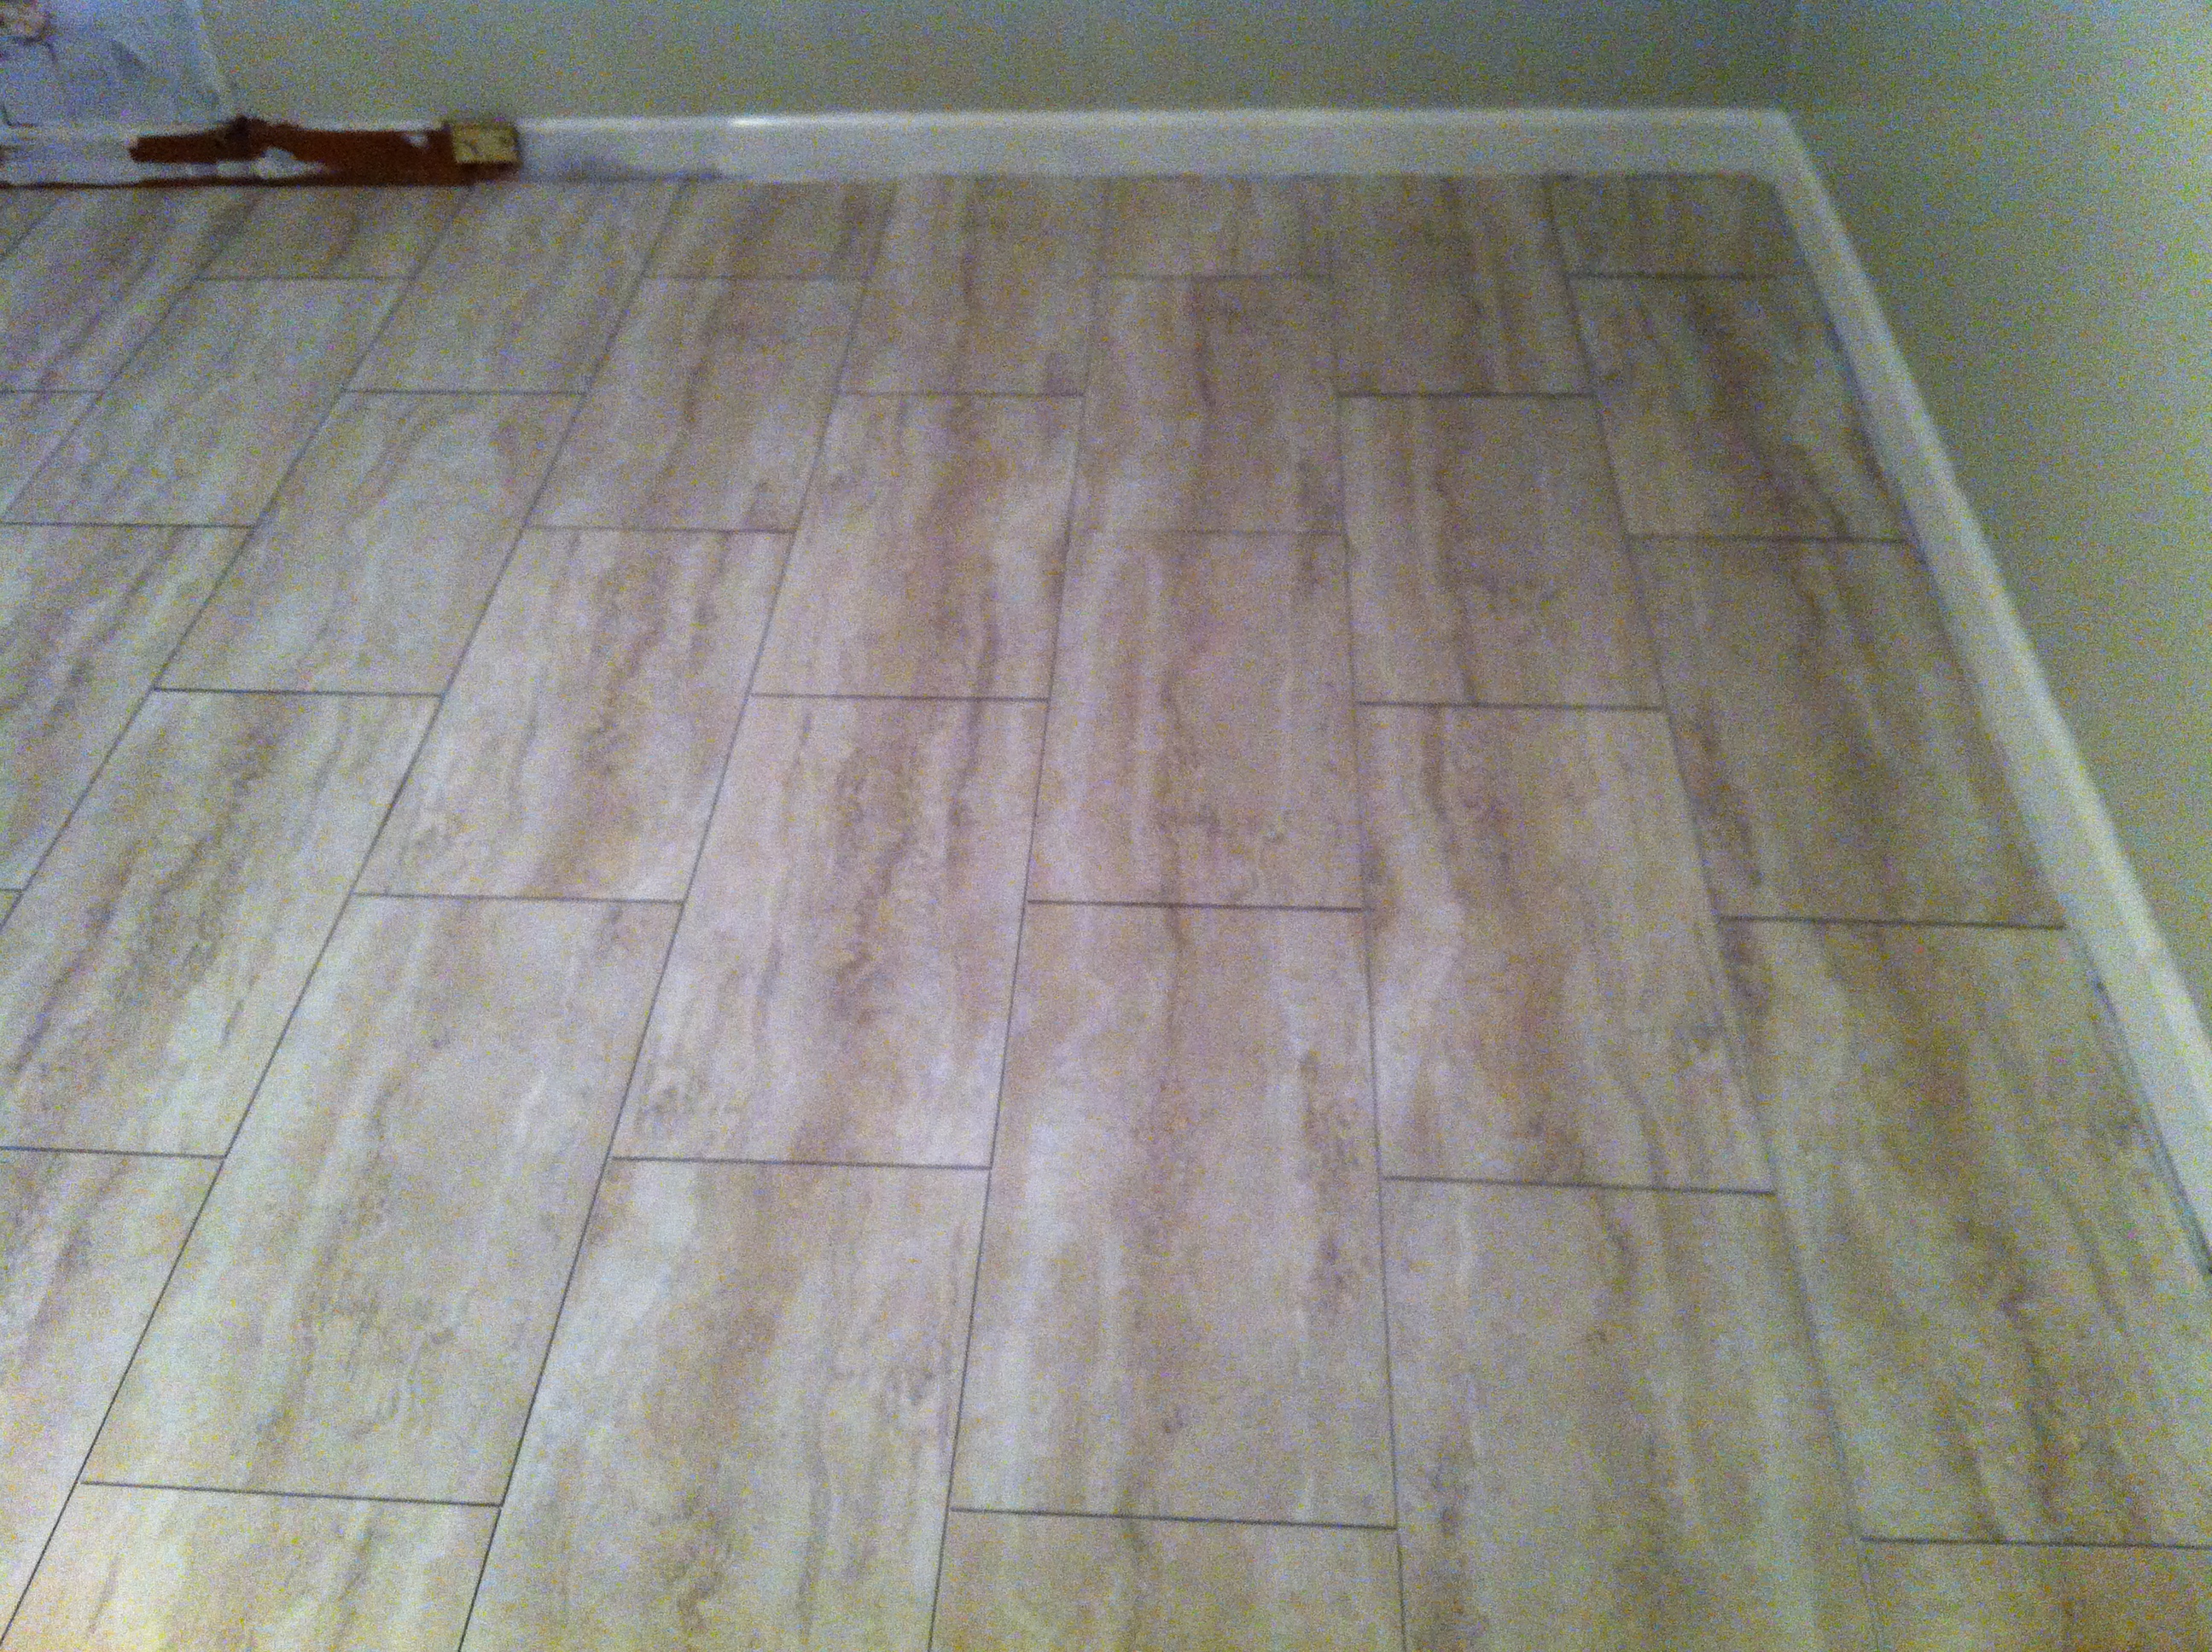
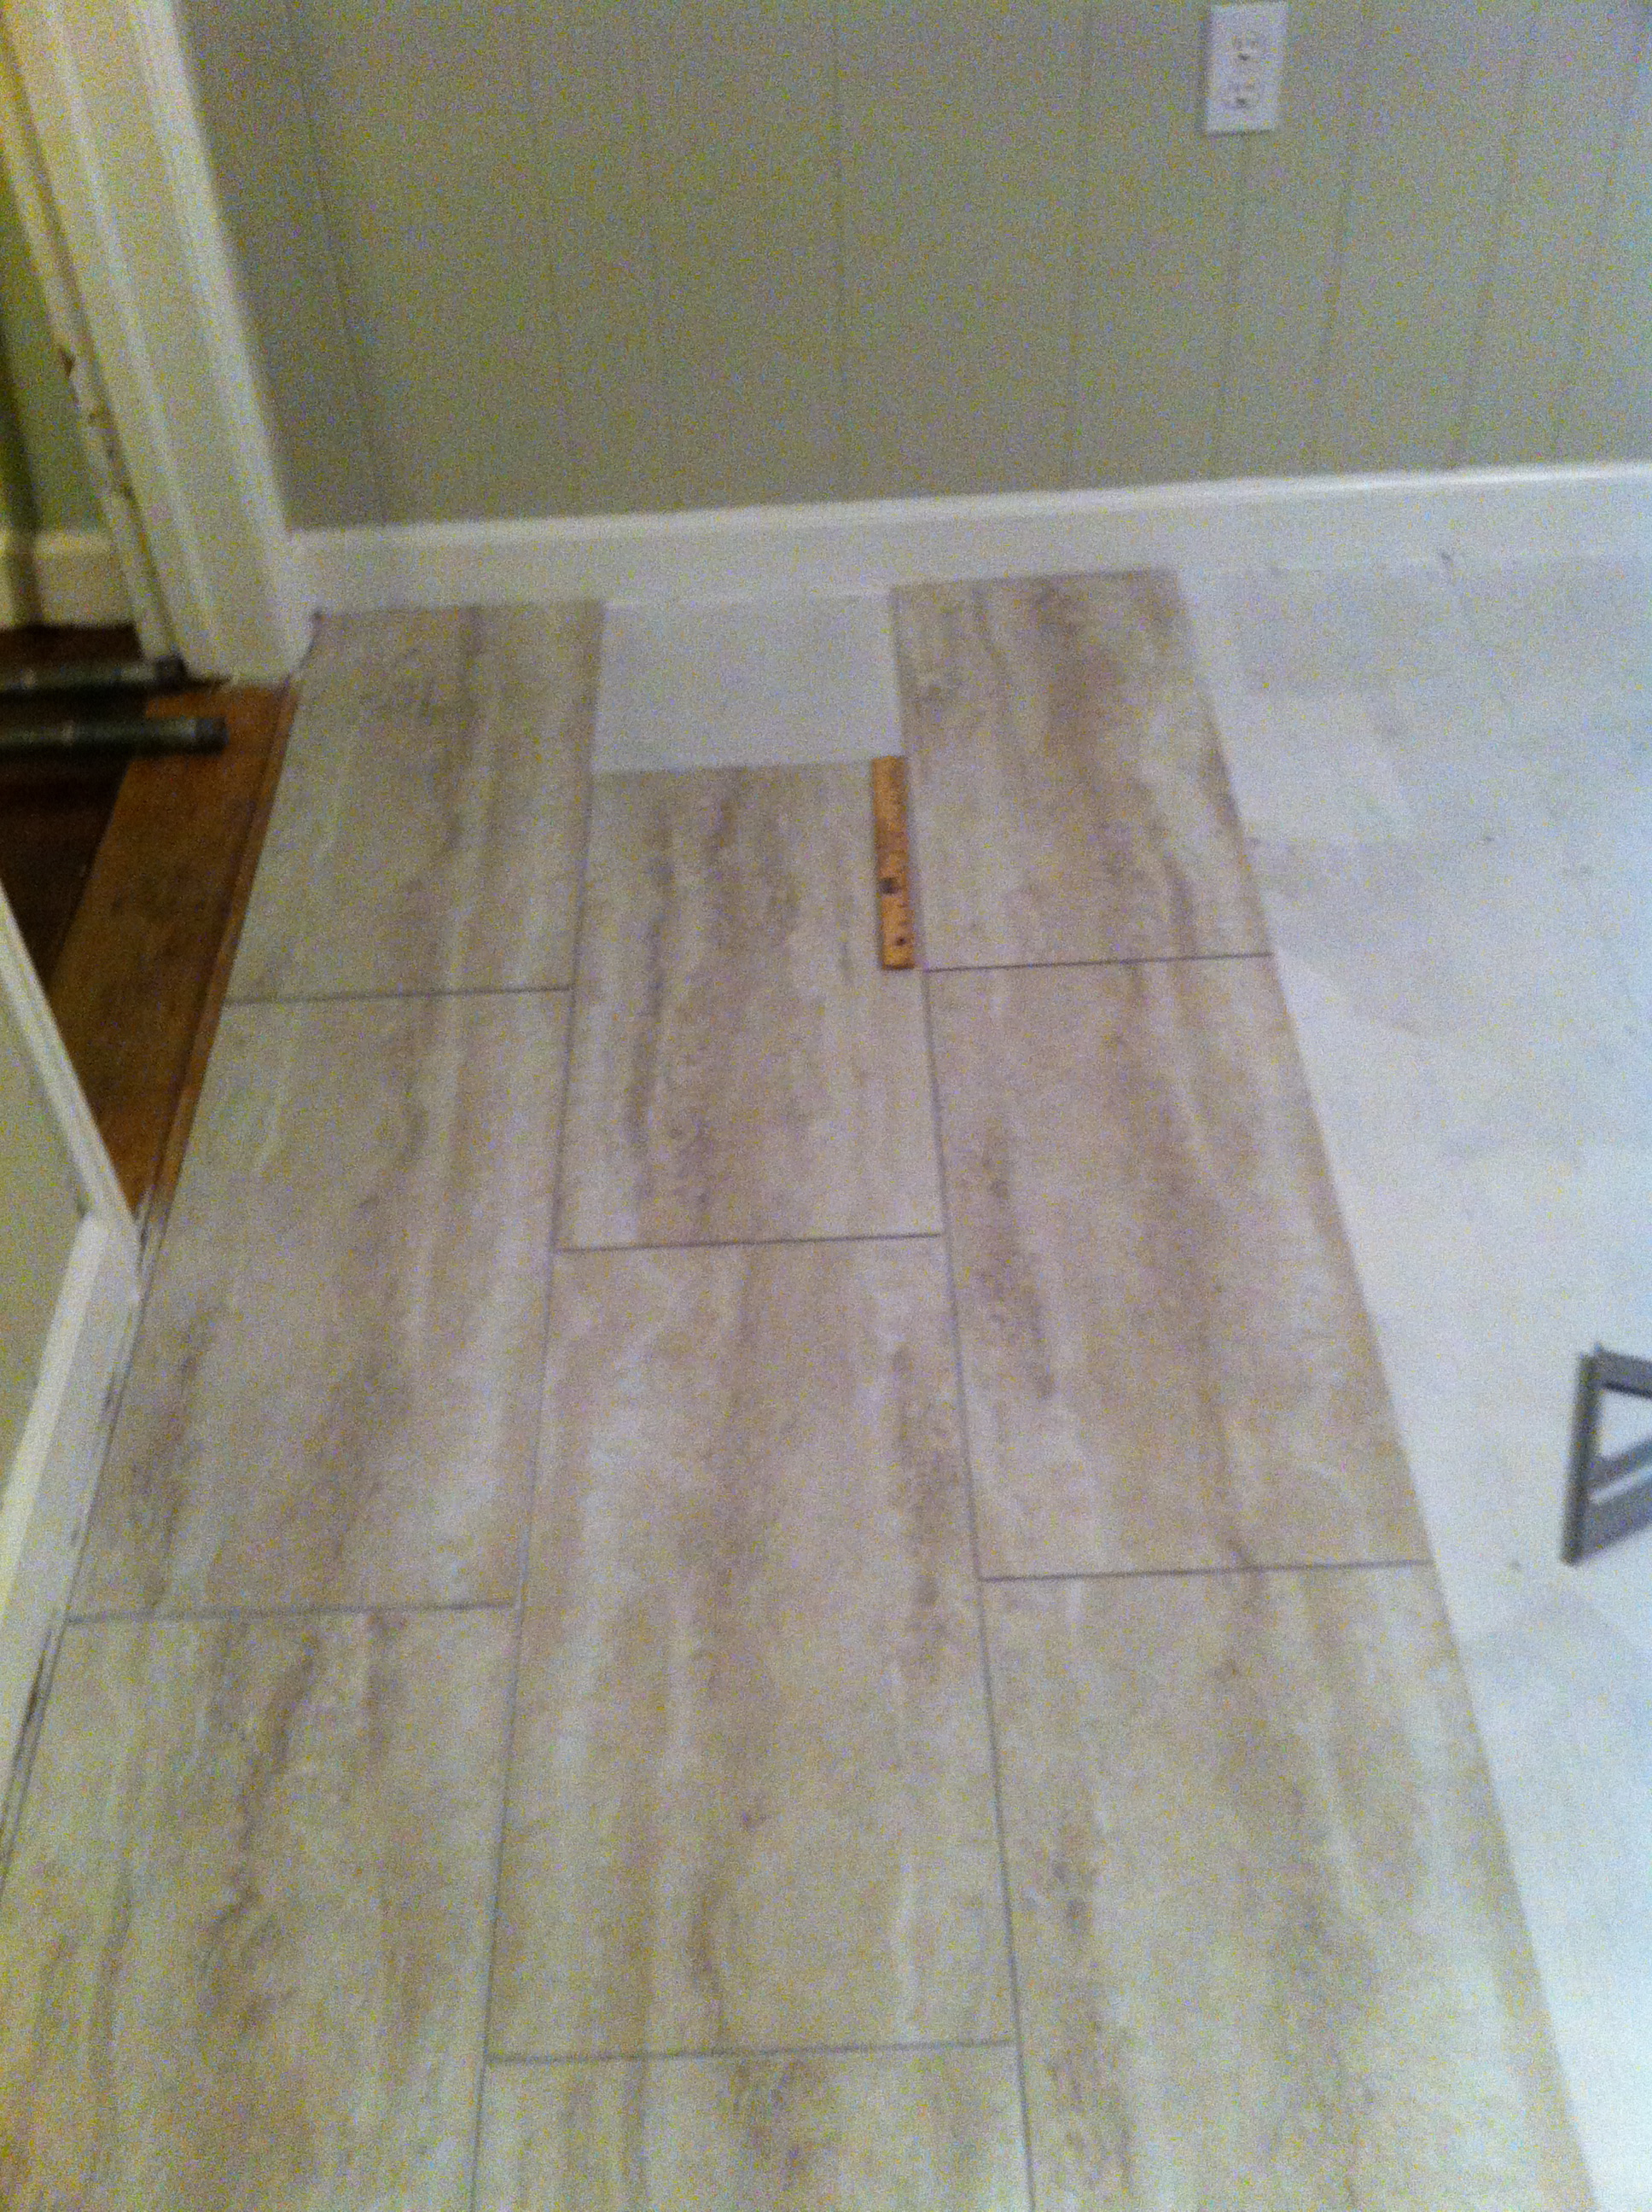
My sister is renovating her house and I have been traveling up to NC to help out when I can. This weekend I decided I wanted to do something big to help her see her hard work is worth the sore back and headaches so we went to Lowes and found this great product…. Cherry Vinyl Plank Flooring – it is a stick-on vinyl tile that looks and feels like real wood at $1.18/sq ft. and it super simple to install. I convinced her it would look great with the real wood floors that she restained in the rest of the house that are similar in color to the planks. The kitchen is separated from the real wood floors by a dining room so the new planks will not be directly beside the old floors. We make the purchase along with some glass tiles and grout to do the backsplash (another post is imminent). Time to get to work!!
Shop Style Selections 6″W x 48″L Cherry Luxury Vinyl Plank at Lowes.com.


I measured the room and drew a line to indicate the middle from the center of the sink. This was the logical place to start since the doorway was directly across from the sink. I began laying the planks at an angle with the short end placed on the marked line with the ends at a 90 degree angle to each other…

It already is beginning to look great. Each piece is placed tightly against each other and with my sister’s help we started making a chevron pattern with the planks. This stuff was really sticky which is great because it should stay put but it got all over our hands, I just used the stuff that takes stickers off of surfaces to wash my hands every 5 planks or so.

About 3/4 of the way through the project. Time to start measuring the planks that need to be cut to fit against the wall, this part was time consuming but fairly easy after making a template to help cut the angle. After a few mistakes I figured out that going ahead and placing a plank first then cutting against the wall worked better than cutting first because I usually had it too long and had to cut again anyway. After that it went down much quicker.

The zig zag pattern looks great, cannot wait to see the finished kitchen!
- This looks even better in person, the tiles fit together perfectly, such a quality product. I want to try this in my own basement, it looks like real wood at a fraction of the cost and labor!

